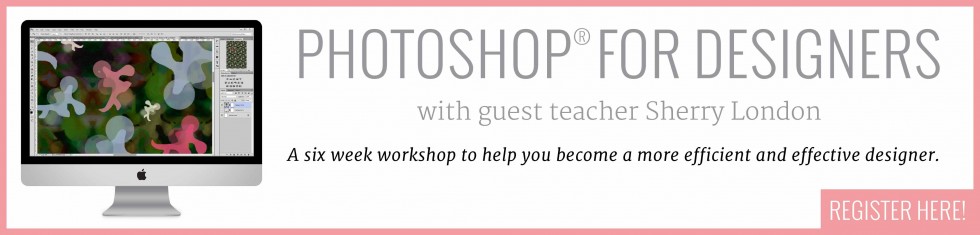
Each month Sherry London will be bringing The Textile Design Lab an in depth post on how to improve our design process by using technology to its fullest capacity. This is an excerpt of a longer post available to members of The Textile Design Lab. Join us to access the full post!
*February Tech Talk by Sherry London
Last month, I talked about scanning your hand-drawn images. Once you have a scan, what happens next? As with most processes, it depends…
The first question you need to ask yourself is what you intend to do with the scanned image—and in which program do you intend to do it! If you want to manipulate the scan in Photoshop, then about all you need to do in advance might be to remove dust spots (we’ll pick that though up in a little bit)
If you want to use the scan in Illustrator, then the next question is how you want to use it. In general, you are most likely to want to:
- Use the Pen tool and trace over it.
- Use the Image Trace command to make a black and white tracing.
- Use the Image Trace command to create a low or limited color tracing.
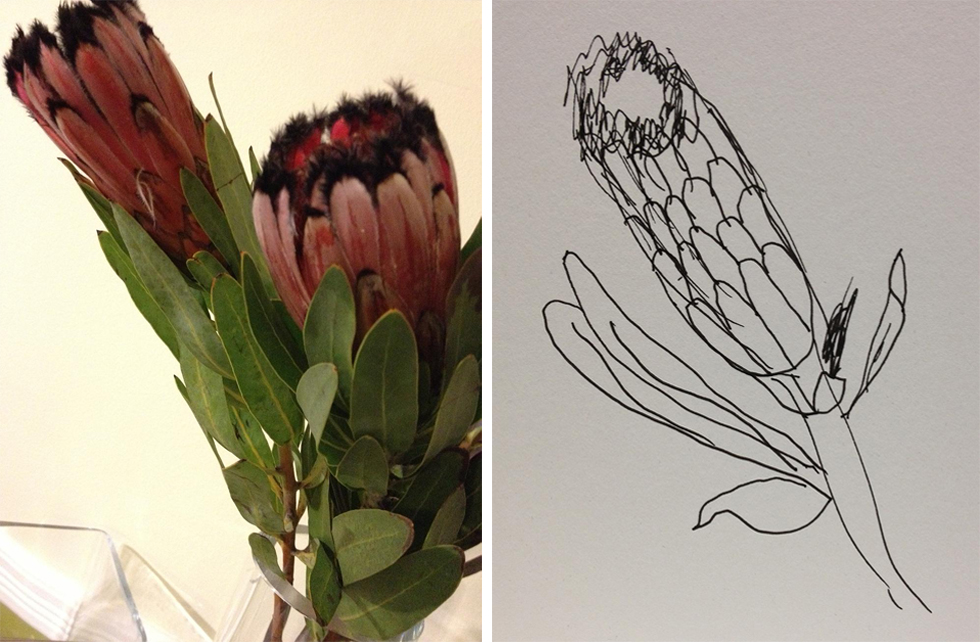
Your prep steps differ based on the route you want to use. As an example, perhaps I want to draw a protea (one of my favorite categories of flowers—it grows in Hawaii and also in South Africa where it’s their national flower). I have both a photo I took of a protea and a scan of sketch I made of one. Neither is a prize-winning effort!
Below, you can see the photo being used as a Template layer in Illustrator and I am tracing it with the Pen tool and creating a series of closed shapes (I trace with only the stroke set so I can see more easily what I have done).
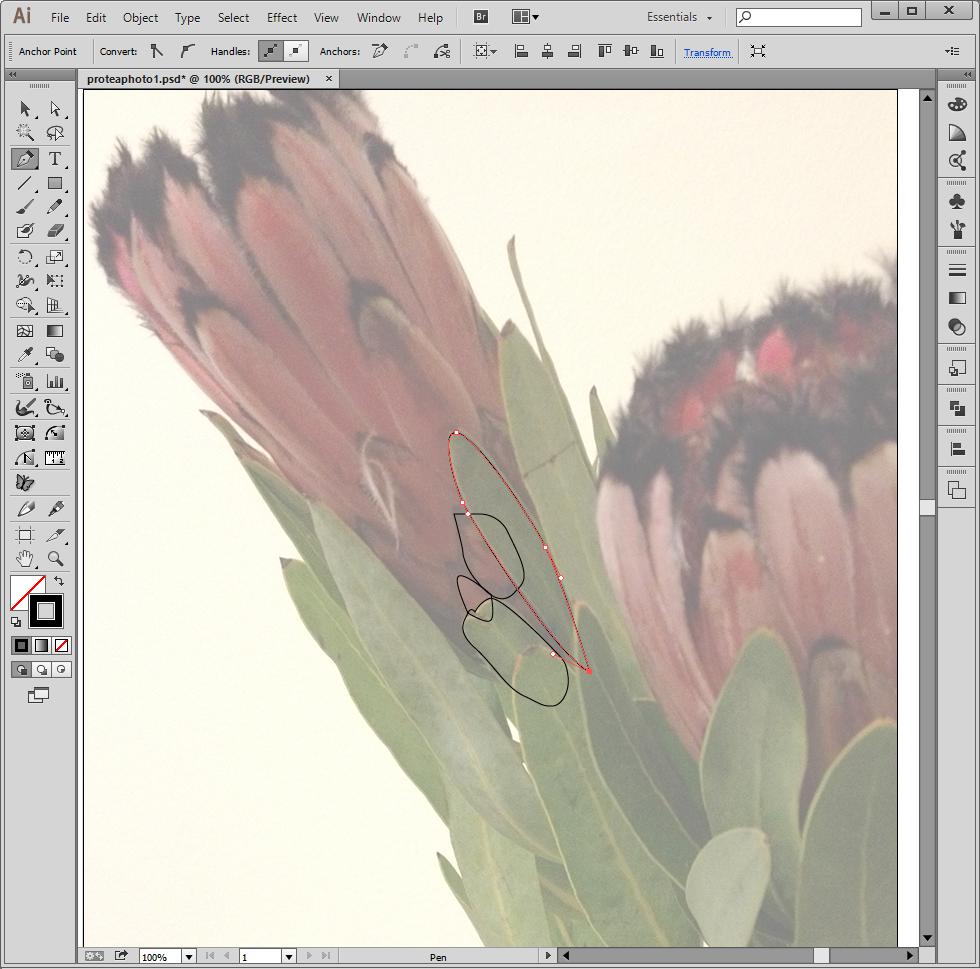
It works, but it really is work because I need to make all the decisions as I’m creating the shapes. Von Glitschka, who is my “illustrator idol” would not approve! He’s known for his clean lines and tracings and he makes sure that he creates a perfect trace template before he starts to work. Actually he does not scan his sketch; he scans the tracing paper copy of his sketch on which he draws the exact shapes that he plans to trace so no ‘real time’ decisions are needed.
I am lazy—but you shouldn’t be! You’ll find it really helpful to plan in advance the exact shapes you want to trace. If you look at my sketch of the same protea as the photo, you’ll see that I still need to make decisions about where the shapes will go or else I need to Image Trace the sketch and let Illustrator preserve the hand-made look.
So that’s another question you should really ask before starting—just how hand drawn do you want the image to look? If you want all the wiggles and squiggles, then pen tracing might not be your best option.

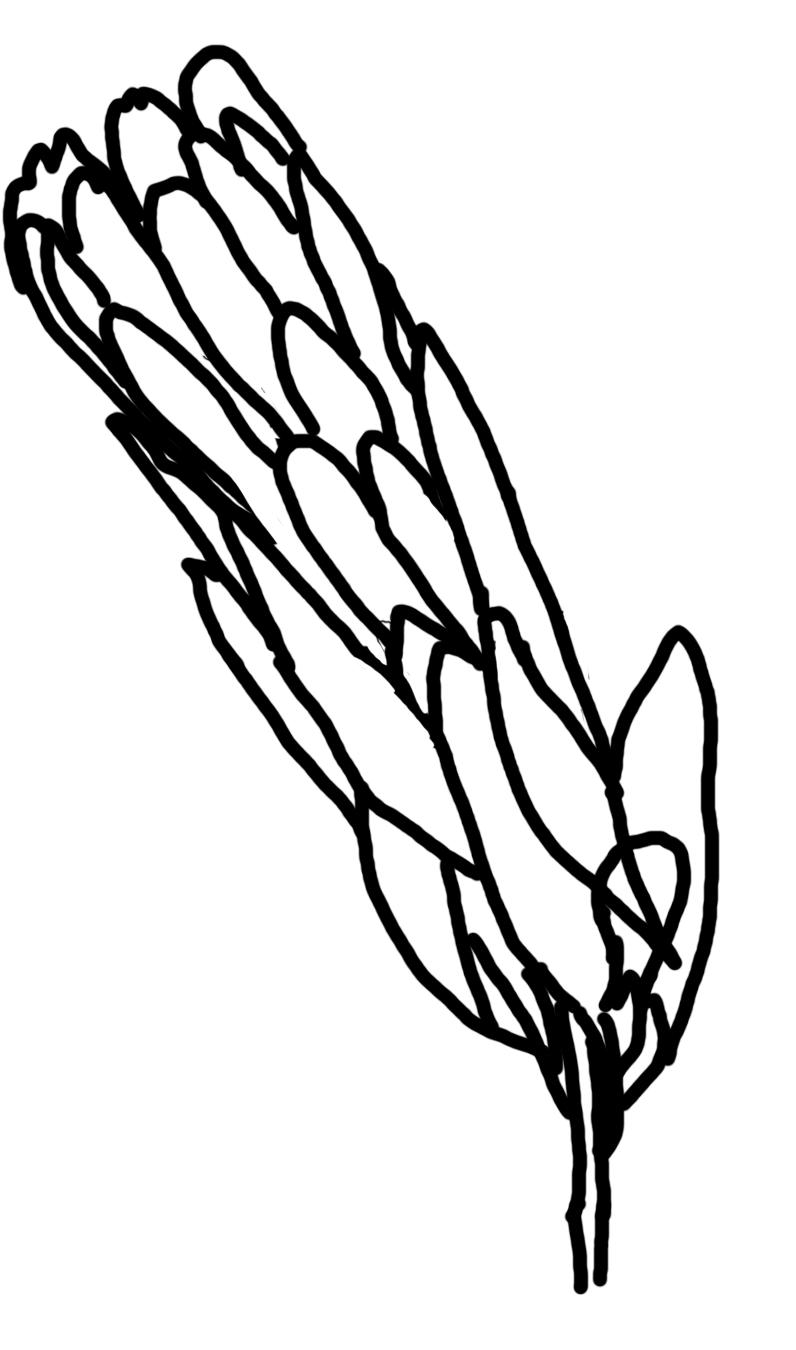
If you do want clean lines and crisp shapes planned in advanced, but you forgot to plan in advance of scanning, you can create this in Photoshop on your computer.
Below is a fairly quick tracing I did of the photo in Photoshop on a layer above the original photo. My lines are thick to show me where I want to lay down my pen lines (though you could certainly make them a lot thinner if you wish and still achieve the same thing). However, when I then place this image as a template into Illustrator, I only need to blindly follow the lines I’ve set and not worry about how everything will fit together because I’ve already planned it out.
If that’s how you prepare your image for pen tracing, how should prepare it if you wish to Image Trace in black and white or color? To learn how, visit my full post in The Textile Design Lab. –Sherry