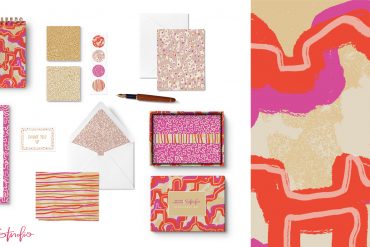
Each month in the Textile Design Lab we welcome an industry expert who offers training in their area of expertise. Loes van Oosten has been our guest expert for the month of May (you can read more about her in this inspiring interview.) Today we are delighted to share an excerpt from her fun training on making your own stamp! Join us in the Textile Design Lab to access the full tutorial!
Hello! My name is Loes van Oosten and I am an illustrator and designer from the Netherlands. I make stamps, block prints, silk screen prints, dip pen drawings, paper cuts and repeat patterns.
Working with my hands makes my heart sing!
Three years ago I read a handmade stamp tutorial in a magazine. I bought all products and supplies needed, and gave it a try. I loved carving the rubber and the result looked great! Since then I have made many stamps and block prints and experimented a lot with different materials and inkpads. In this tutorial I will explain the products that I mostly use and provide a step by step guide from drawing to print. You do not need artistic experience to give it a try. You will be surprised by the result. I do need to warn you… once you made your own stamp, you may be addicted! Have fun!
Background
Stamping is one of the oldest ways to make a relief print. It is a craft in which ink is applied to an image that has been carved on to a sheet of rubber. Printing the image is a relatively simple matter of inking the face of the block and bringing it in firm contact with the paper or other surfaces like textile, wood or leather.
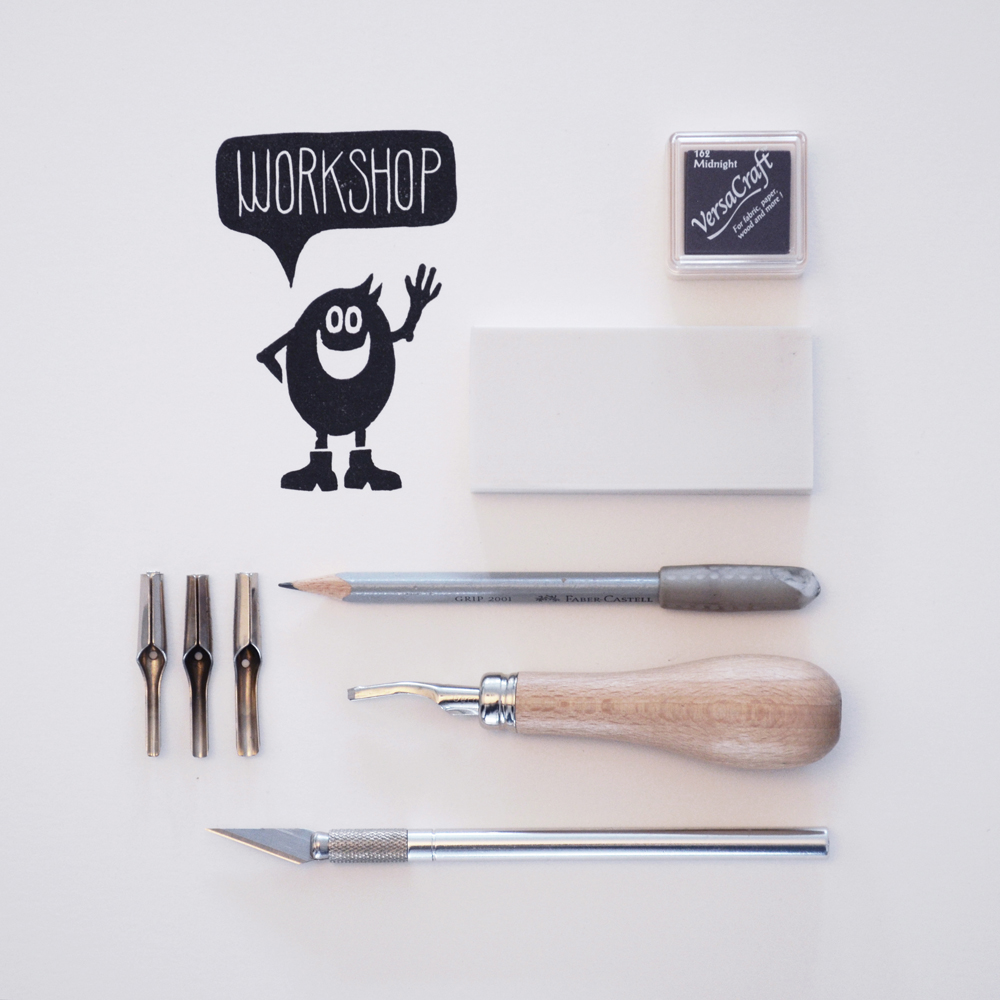
Supplies
– Cutting mat
– Pencil with a soft lead
– Paper / tracing paper
– Craft knife
– Linoleum cutter:
Abig. I mostly use the tips nr. 1, 2 and 4
– Rubber:
Plain white block eraser. Make sure the rubber is firm and has a smooth surface.
Speedy Carve rubber block by Speedball. This rubber is not very thick and need some kind of backing with larger size stamps.
– Inkpad:
VersaColor suitable for paper or VersaCraft multi-purpose craft ink suitable for textile, wood, leather and other absorbent surfaces.
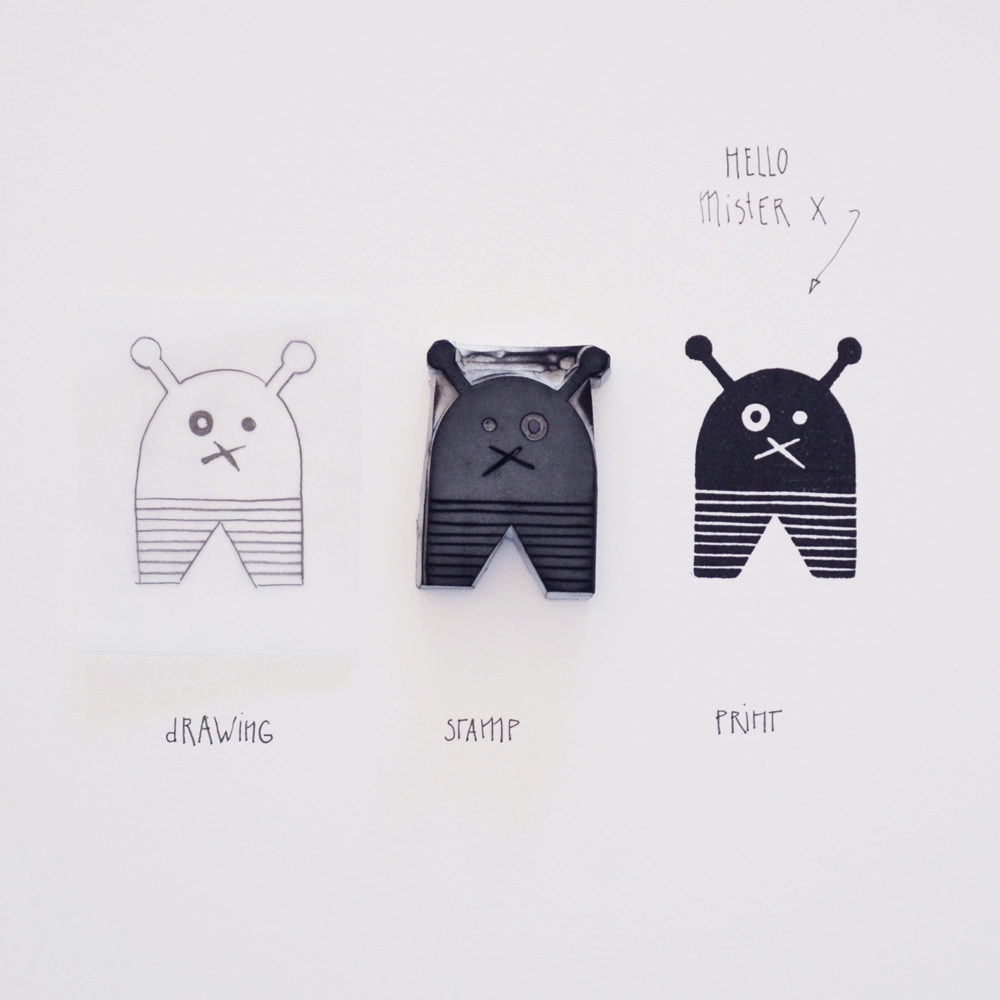
1 – Drawing
Before you start sketching you have to be aware of the negative and positive aspects of your drawing. Every high part will be printed. Every low part that you have carved out of the rubber will not be visible. With complicated stamps I like to mark all the parts that I want to carve away. For this tutorial I have drawn a fantasy figure that covers all techniques. Let’s call him Mister X. Place your block on a piece of paper and trace it around. Now you can draw from the model within the block shape, with a soft leaded pencil.

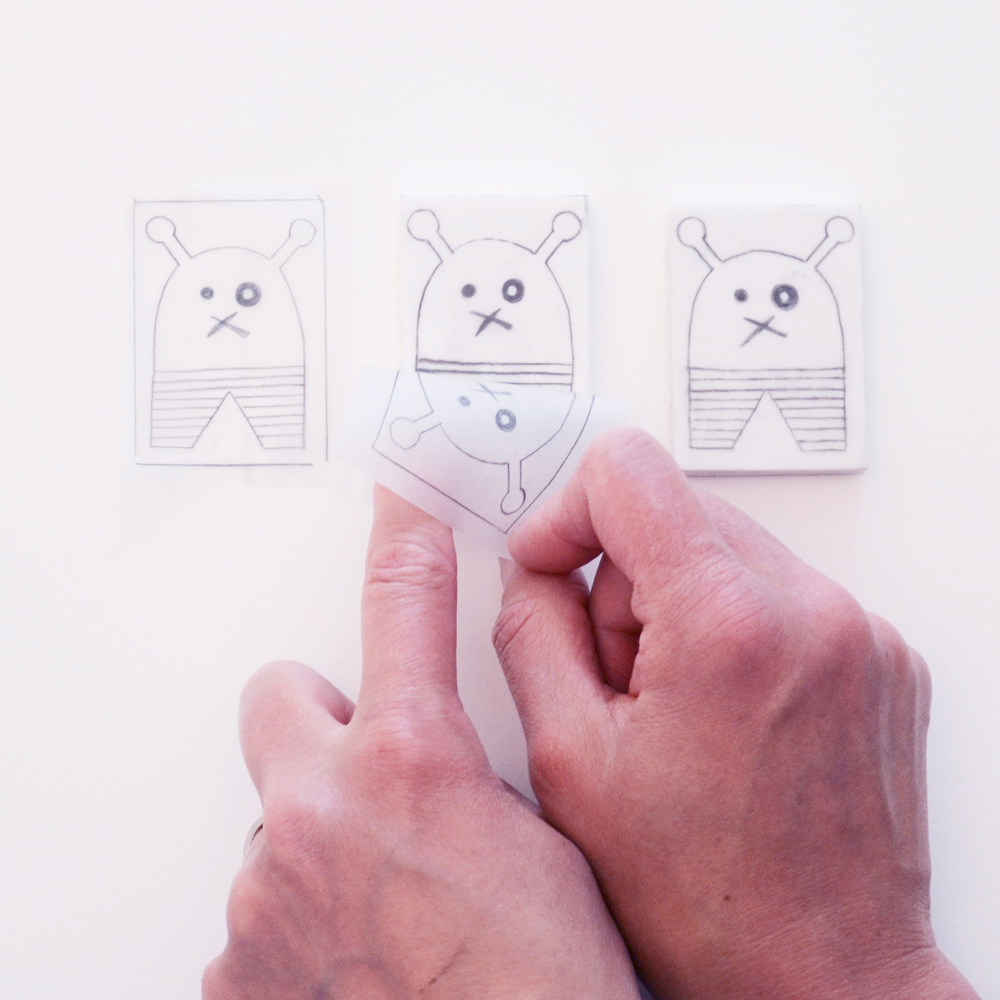
2 – Transfer
Transfer the drawing from the paper to the block. Cut out the shape of the block and flip over the piece of paper. Your pencil drawing is now facing the surface of the block. Transfer the pencil drawing onto the block by rubbing the reverse side of the paper with the backside of your craft knife or pencil. When you have rubbed the whole surface you can take the paper away. The drawing is now onto your block!
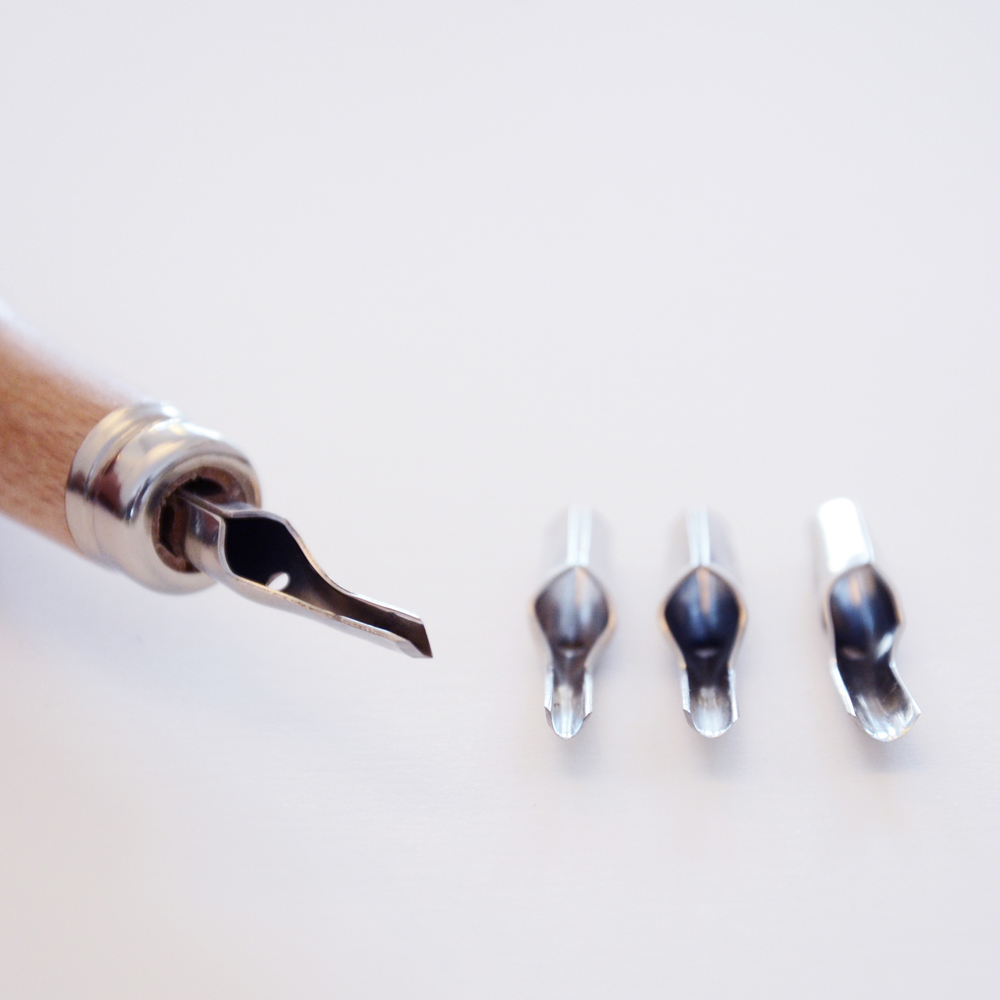
3 – Linoleum cutter
The Abig linoleum cutter set has 5 different tips.
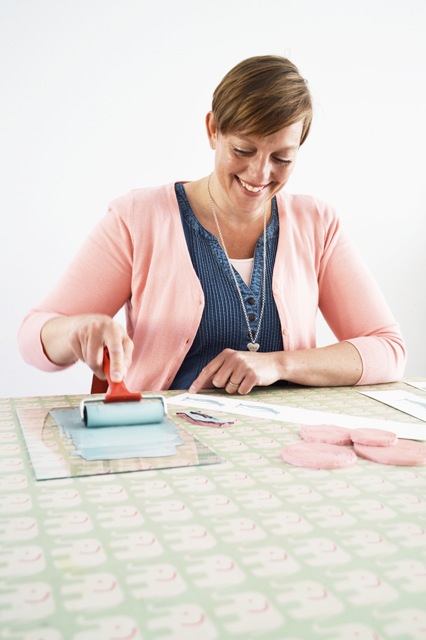
The smallest tip nr. 1 has a V shape. This tip I use mostly for the fine lines and details. The biggest tip nr. 4 has a U shape. This tip I use to take away the bigger areas. Hold the cutter in your hand like a knife with the back of the cutter in the palm of your hand and your index finger on top. This way you will be able to steer and control the cutter. Since the rubber is soft, it will carve like butter. You do not need to put a lot of pressure on the cutter. Carve a few lines on the back of your block to practice in order to get the right feeling. Be careful, the tips are sharp! Always try to cut away from yourself.
To view the next nine steps and see how Loes carves and prints with her stamp, join us in the Textile Design Lab! Membership is just $49/month and in addition to our guest expert tutorials you also will receive access to our private forum, a variety of e-courses, monthly design challenges and tons more fun and helpful content to get your textile design career off the ground.