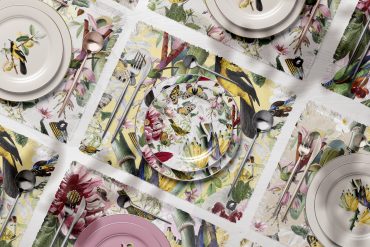
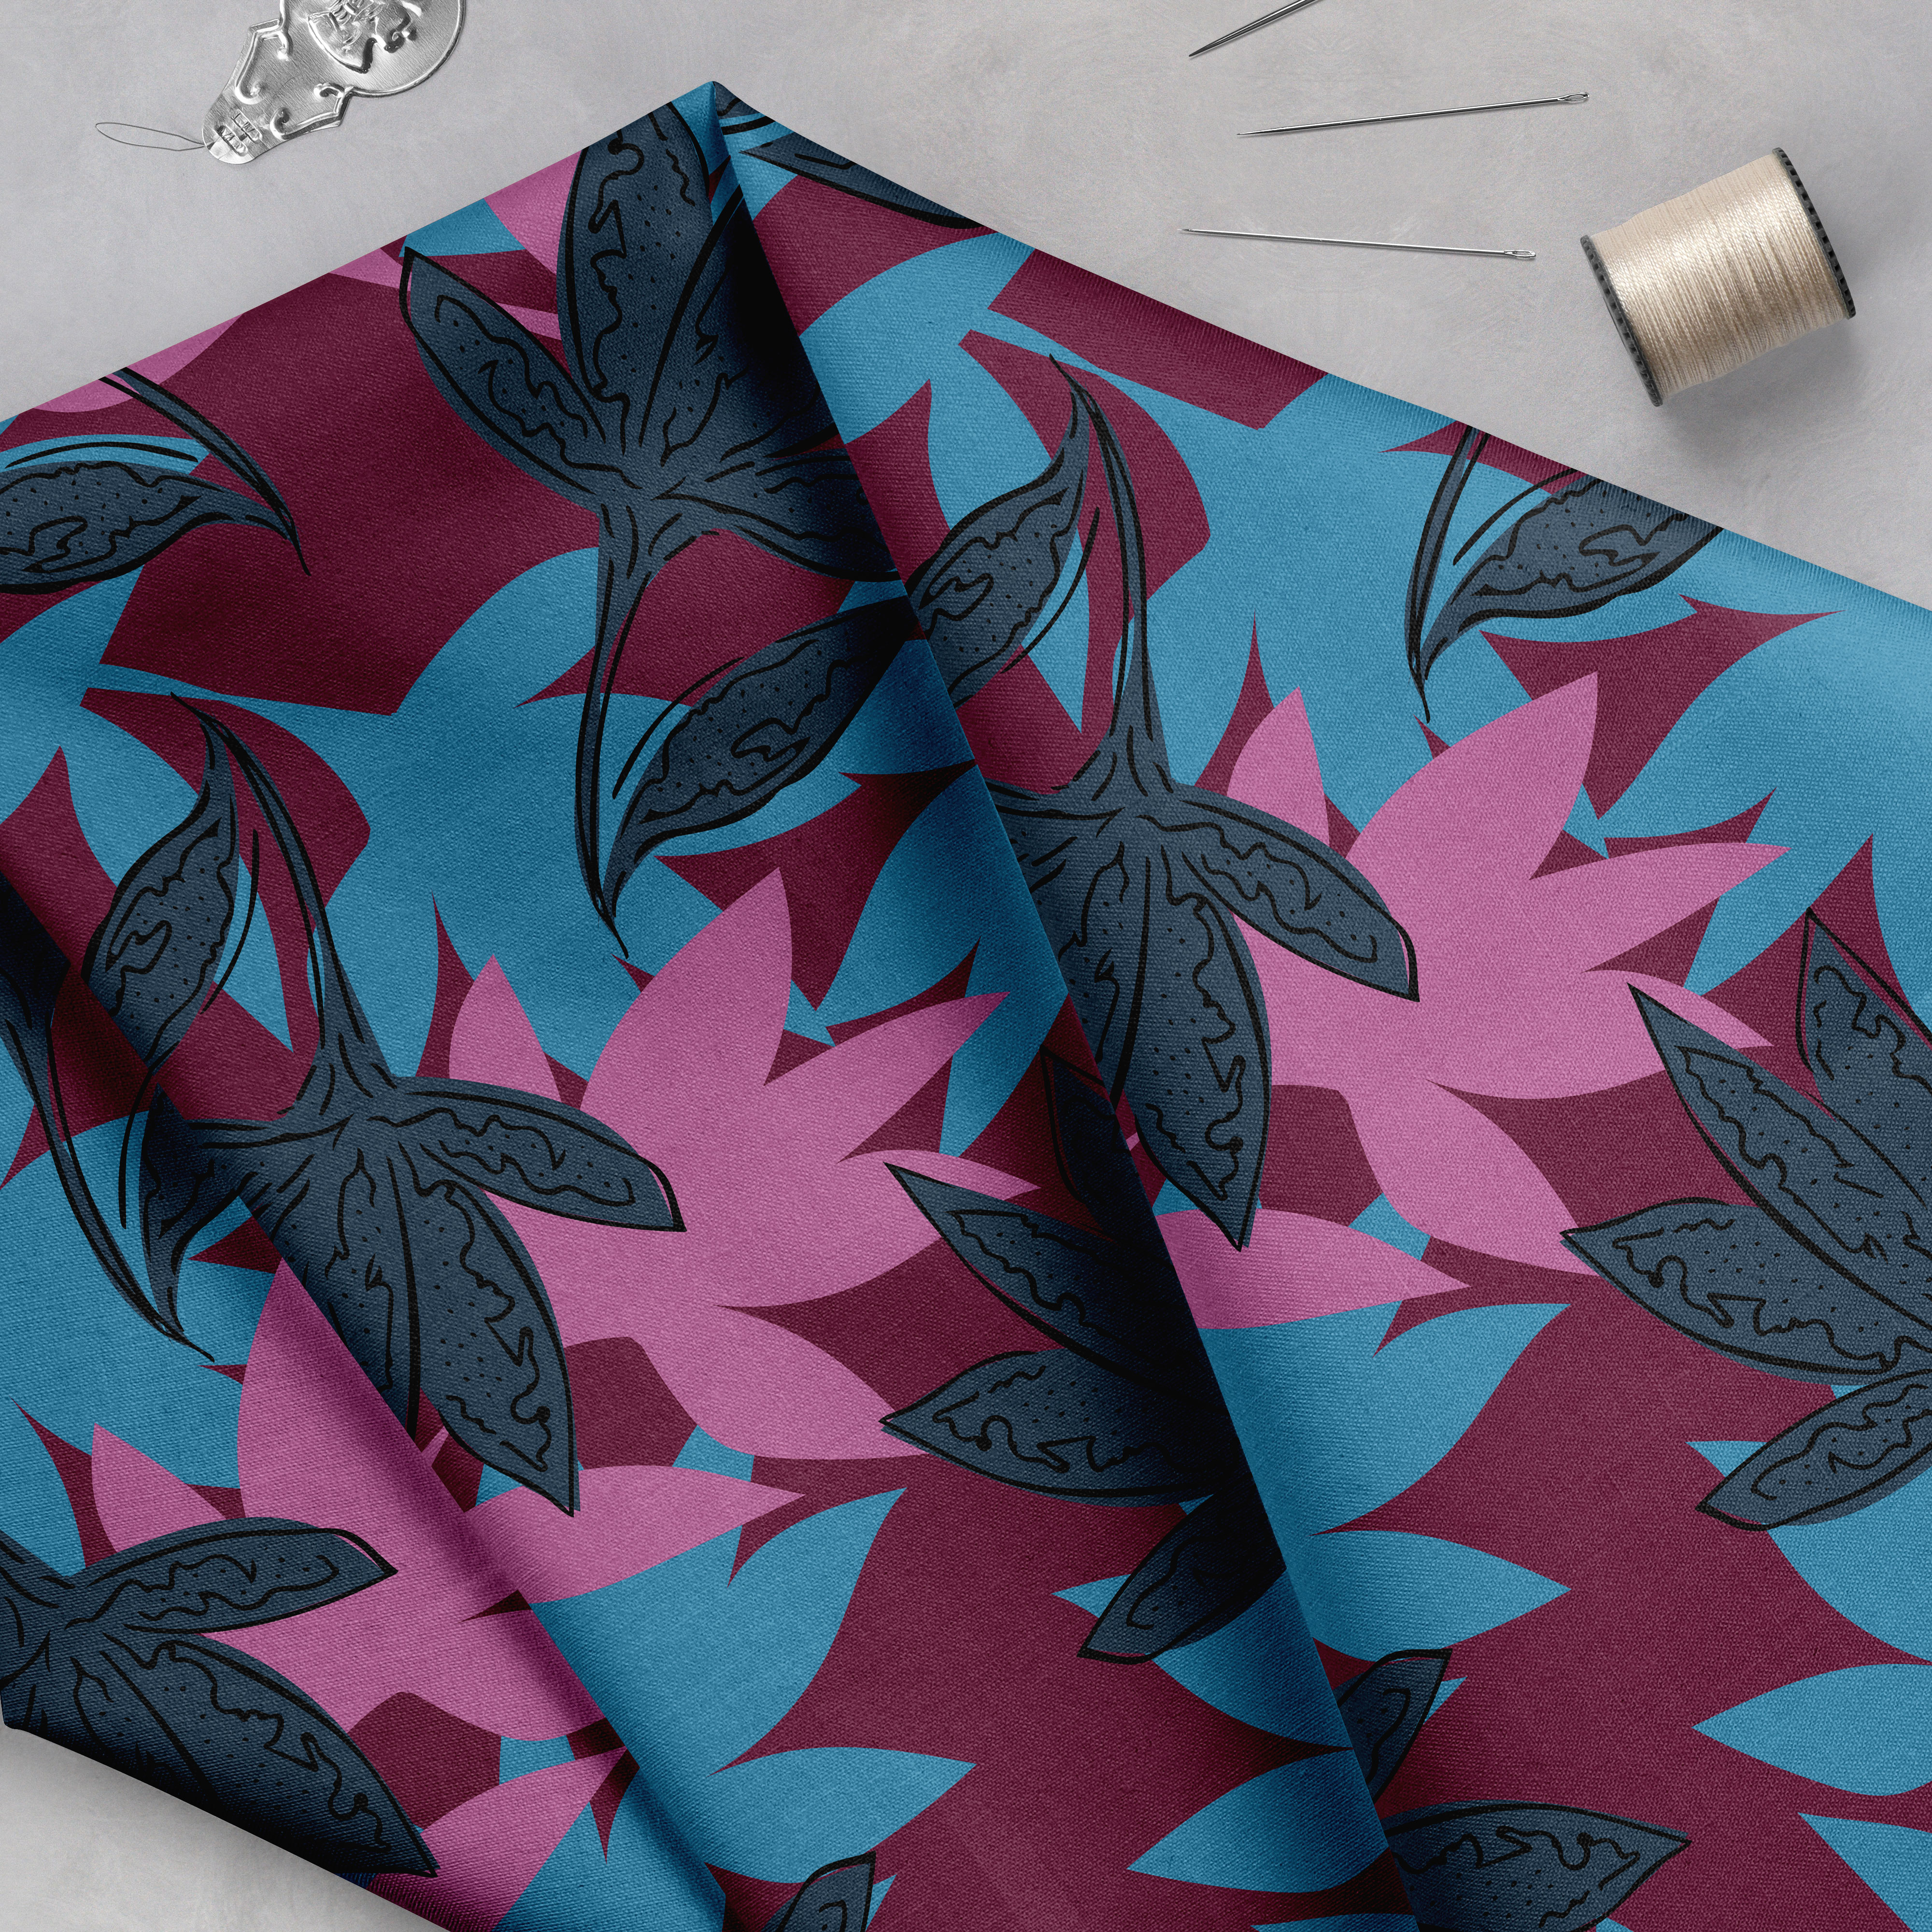
Each month in the Textile Design Lab we welcome an industry expert who offers training in their area of expertise, and for the month of November we have been delighted to have Kim Gann as our guest expert. Kim is a licensed artist with wall art, needlepoint, flags and fabric under her belt, including two collections with quilting fabric manufacturer P&B Textiles, “Fancy Feathers” and “Flying Sweetly.” You can read more about her in our interview here. Below you will learn a bit about Kim’s process in creating art to be used on digitally printed fabric for the quilting market. Join us in the Textile Design Lab to access the full post!
Let’s create a digital fabric design.
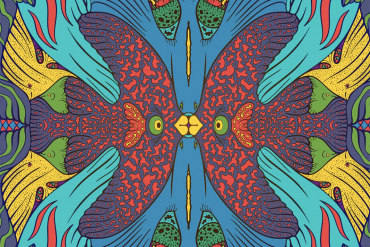
I create everything by hand, using Photoshop to create repeat patterns and color ways.
This is the way I created the base of Fancy Feathers with P&B Textiles (images shown are to demonstrate Kim’s process but do not specifically show the Fancy Feathers collection.)
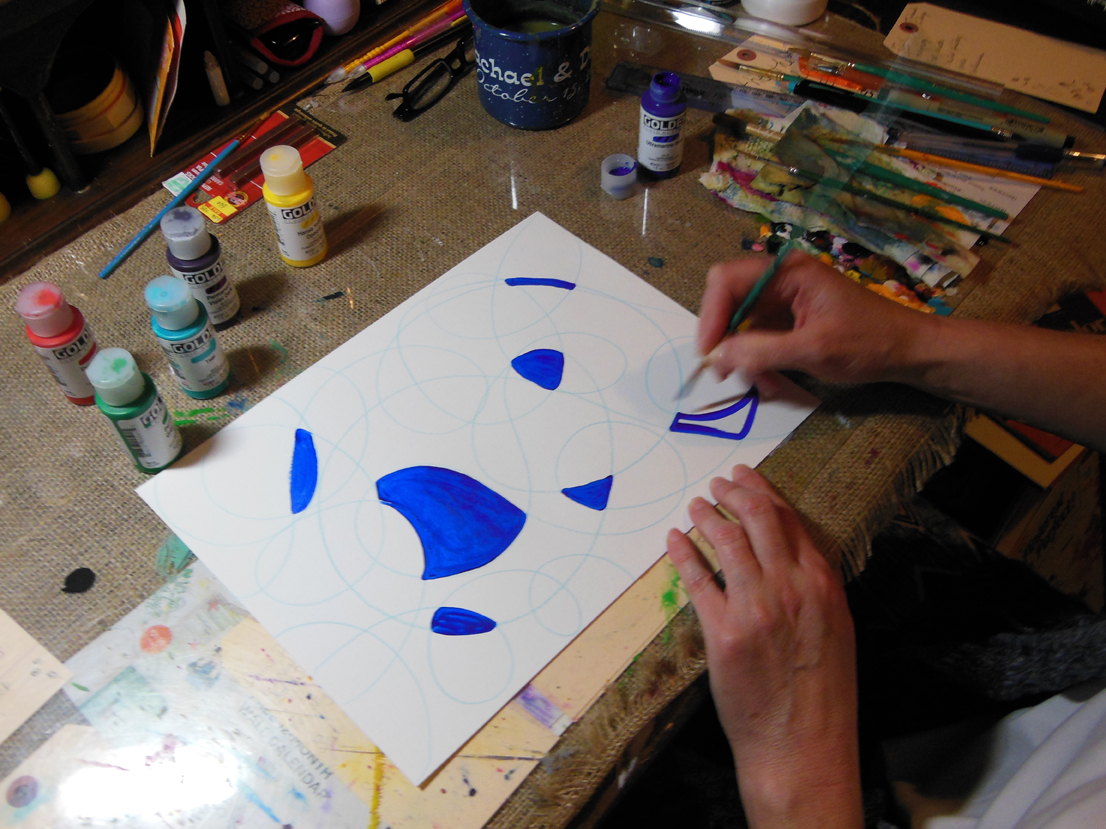
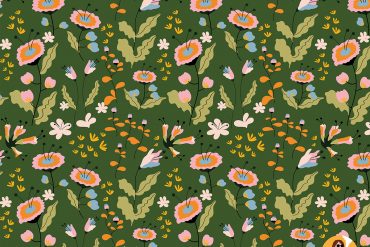
- I begin with a blank sheet of watercolor paper and scribble a continuous line all over.

- Then I fill in the areas with bright colors.
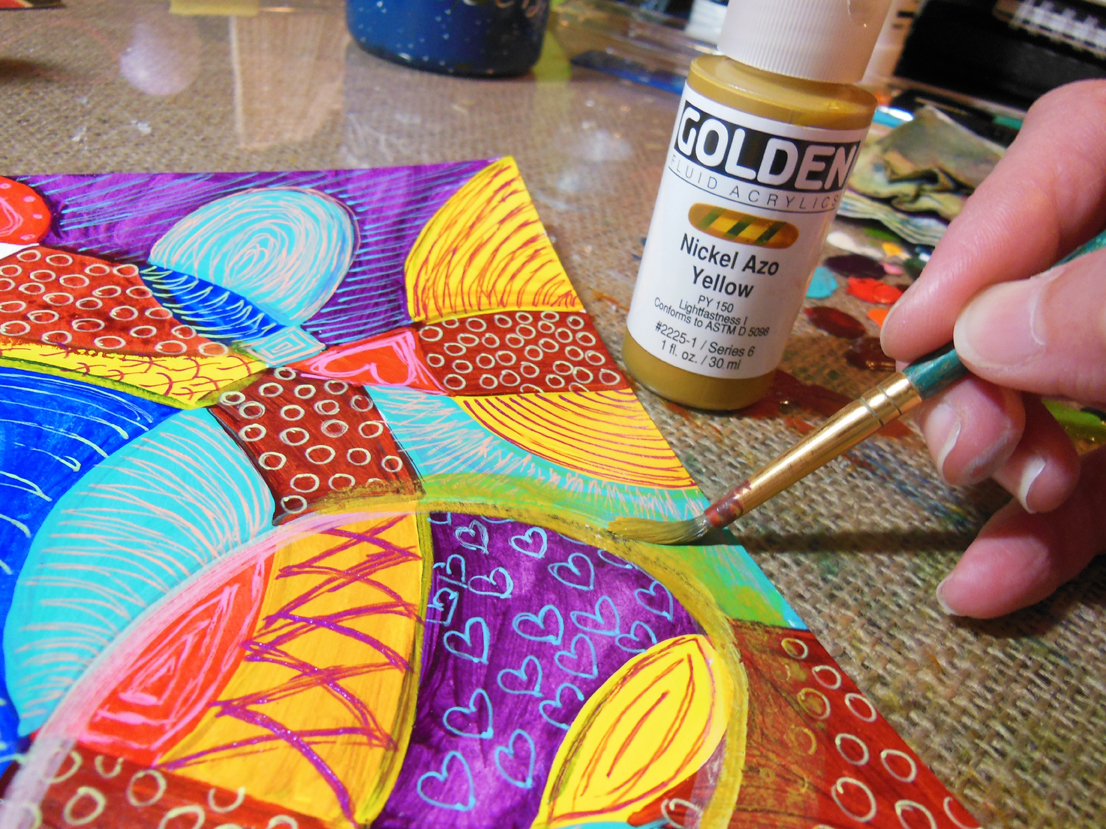
- The next step is to paint shapes and designs into each shape. I like to use high contrast colors for this step.
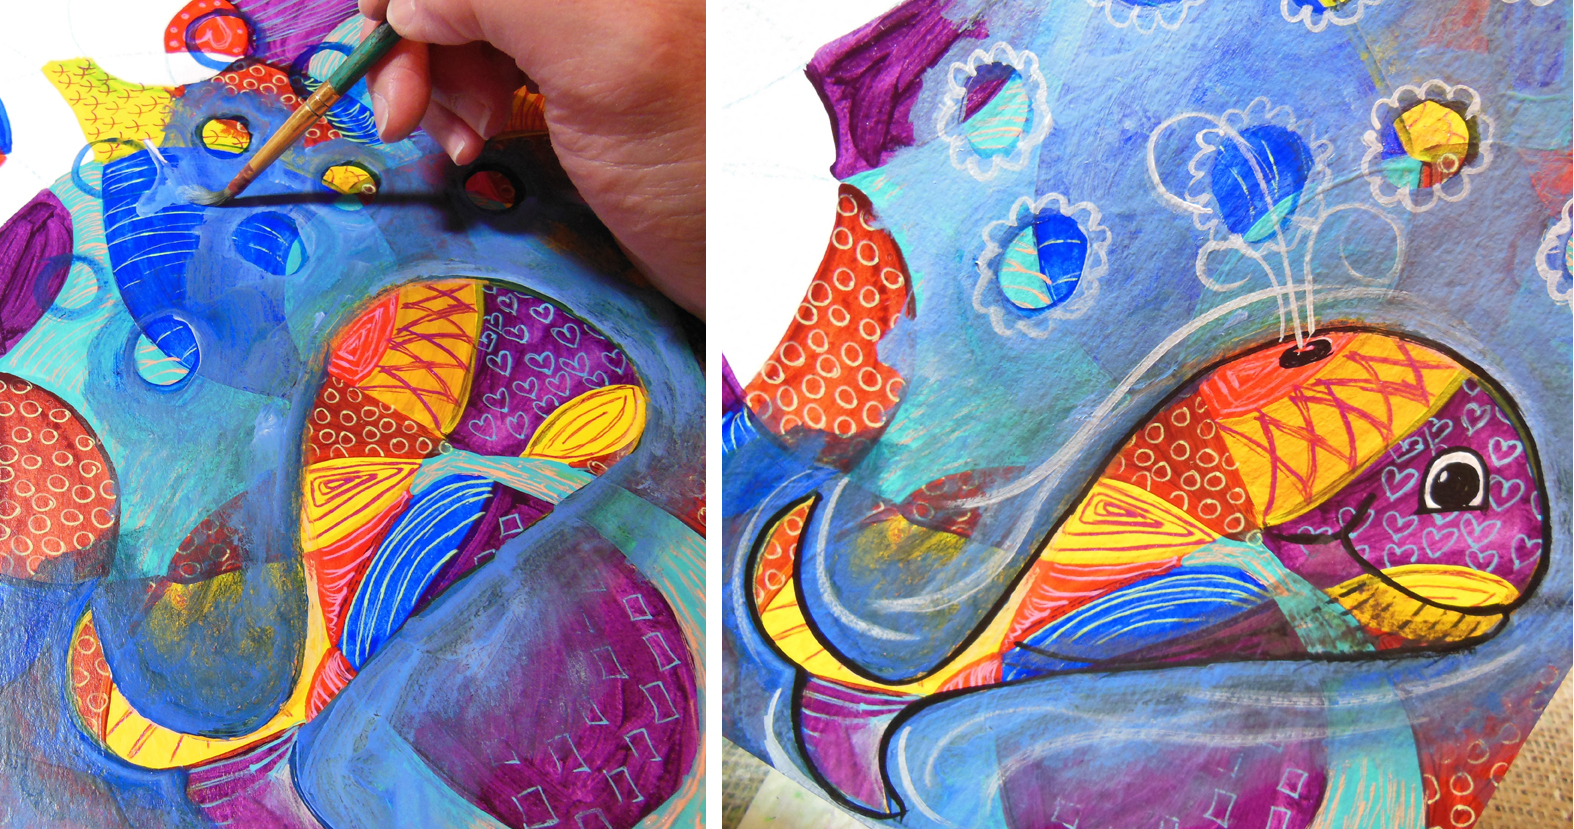
- The next step takes time, but is the most gratifying. Take your piece and look for recognizable objects. I have found birds, bunnies, angels, just to name a few. Lightly trace around the object with a color that can be blended into the background if you choose not to develop it.
Defining the main subject:
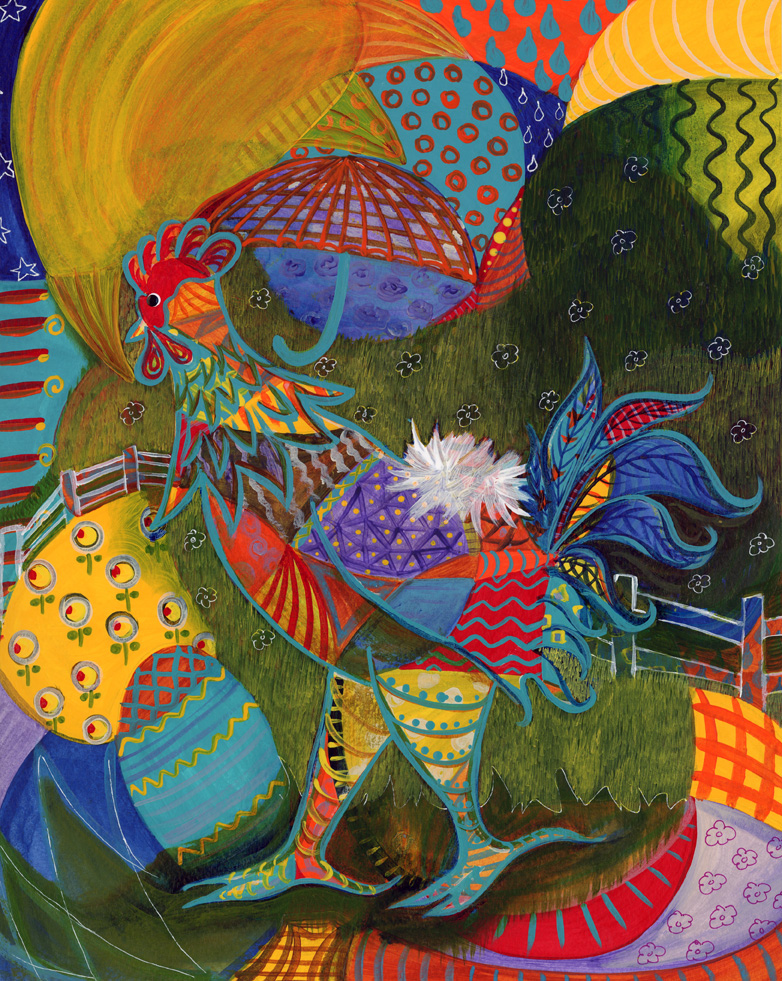
With the Fancy Feathers Collection I knew I was going to paint chickens. I followed all the steps, but before I looked for objects I drew the rooster. I brought him to life by lightly adding color to the outline of him. I use Golden Liquid acrylics for these paintings. When you outline or add shadows you want a transparent layer of color. After I had the rooster lightly shadowed around the outline I began looking for other things I could develop in the piece. I found an Easter Egg, an umbrella, a balloon, and even a planet. I added fencing and grassy fields. I leave the true background colors alone in the center of the main object, which are the chickens in this collection.
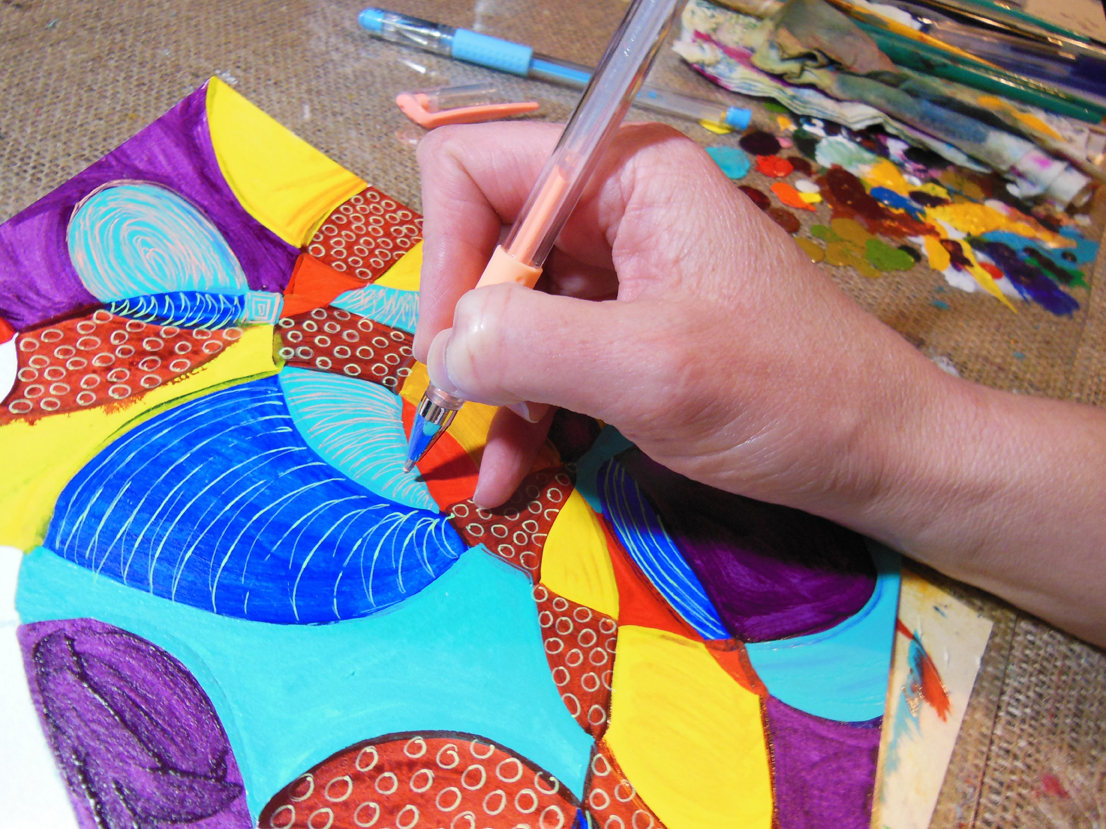
Adding fine detail:
This is when the pens come out. The white and colored gel pens work very nicely for this step. Just be careful, they may smear. I used a white gel pen to add delicate little flower outlines to the grassy fields, some stars in the sky and x’s in the background. I usually paint the designs in the background. The pens are quicker and thinner. If you aren’t comfortable using a brush to create small detail, pick up some pens. They work great!

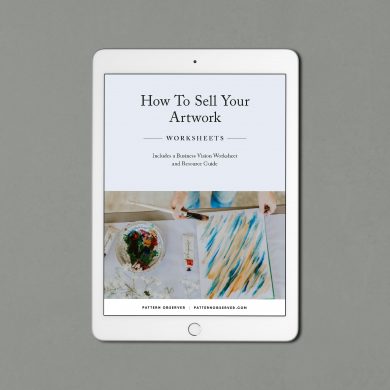
Become a member of the Textile Design Lab to access the rest of this tutorial, which includes Kim’s thoughts on artwork revisions, working with another designer, and more. TDL membership is just $49/month and in addition to our monthly guest expert tutorials you also will receive access to our private forum, nine different e-courses, weekly live artwork critiques, fun design challenges and lots more exciting and helpful content to get your textile design career off the ground. Visit textiledesignlab.com to learn more!