Everywhere you look, it feels like people are Marie Kondo-ing their lives.
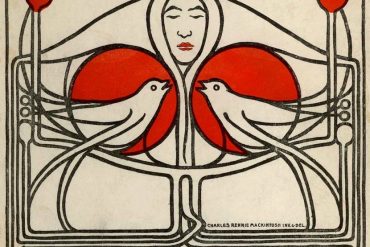
Whether you call it simplifying, decluttering, destashing, or just plain spring cleaning, this can be a positive source of change, renewal, and refreshing. Out with the old, and in with the new! And in the case of patterns and surface design, this same trend towards minimalism and simple pattern design isn’t going away any time soon.
One of the stand-out comments from our recent print shows has been a desire to see more simplified designs. Is this an answer, perhaps, to the chaos in our world? Who can say! But many customers are looking for clean lines, simple—but not simplistic—designs, and fresh approaches to classic design trends.
So, if you’re interested in investigating this trend, how can you bring more simplicity into your life, as well as your pattern design work? Here are three simple ways.
Simplify Your Pattern Design Process
It’s easy to get overwhelmed by all the inspiration and ideas out there in the world. As creatives, we want to try it all! But don’t be afraid of simplifying and streamlining your process.
For some, this might mean simplifying your physical space. While a messy desk doesn’t bother me, some people find it helpful to clear away the clutter. If you thrive in a busy space, take a moment to consider the way your space inspires you, and what changes you might make to focus on what really gets you going.
If you are feeling like your pattern design work is too complex and fussy, try putting aside some tools and techniques for future work, and focusing on one or two techniques. Or go even more focused and try just one or two colors! This limitation will likely allow your creative juices room to explore new ideas. (And remember, just because you pull focus on one tool or one technique, that doesn’t mean you have to give it up forever!)
Simplify Your Patterns
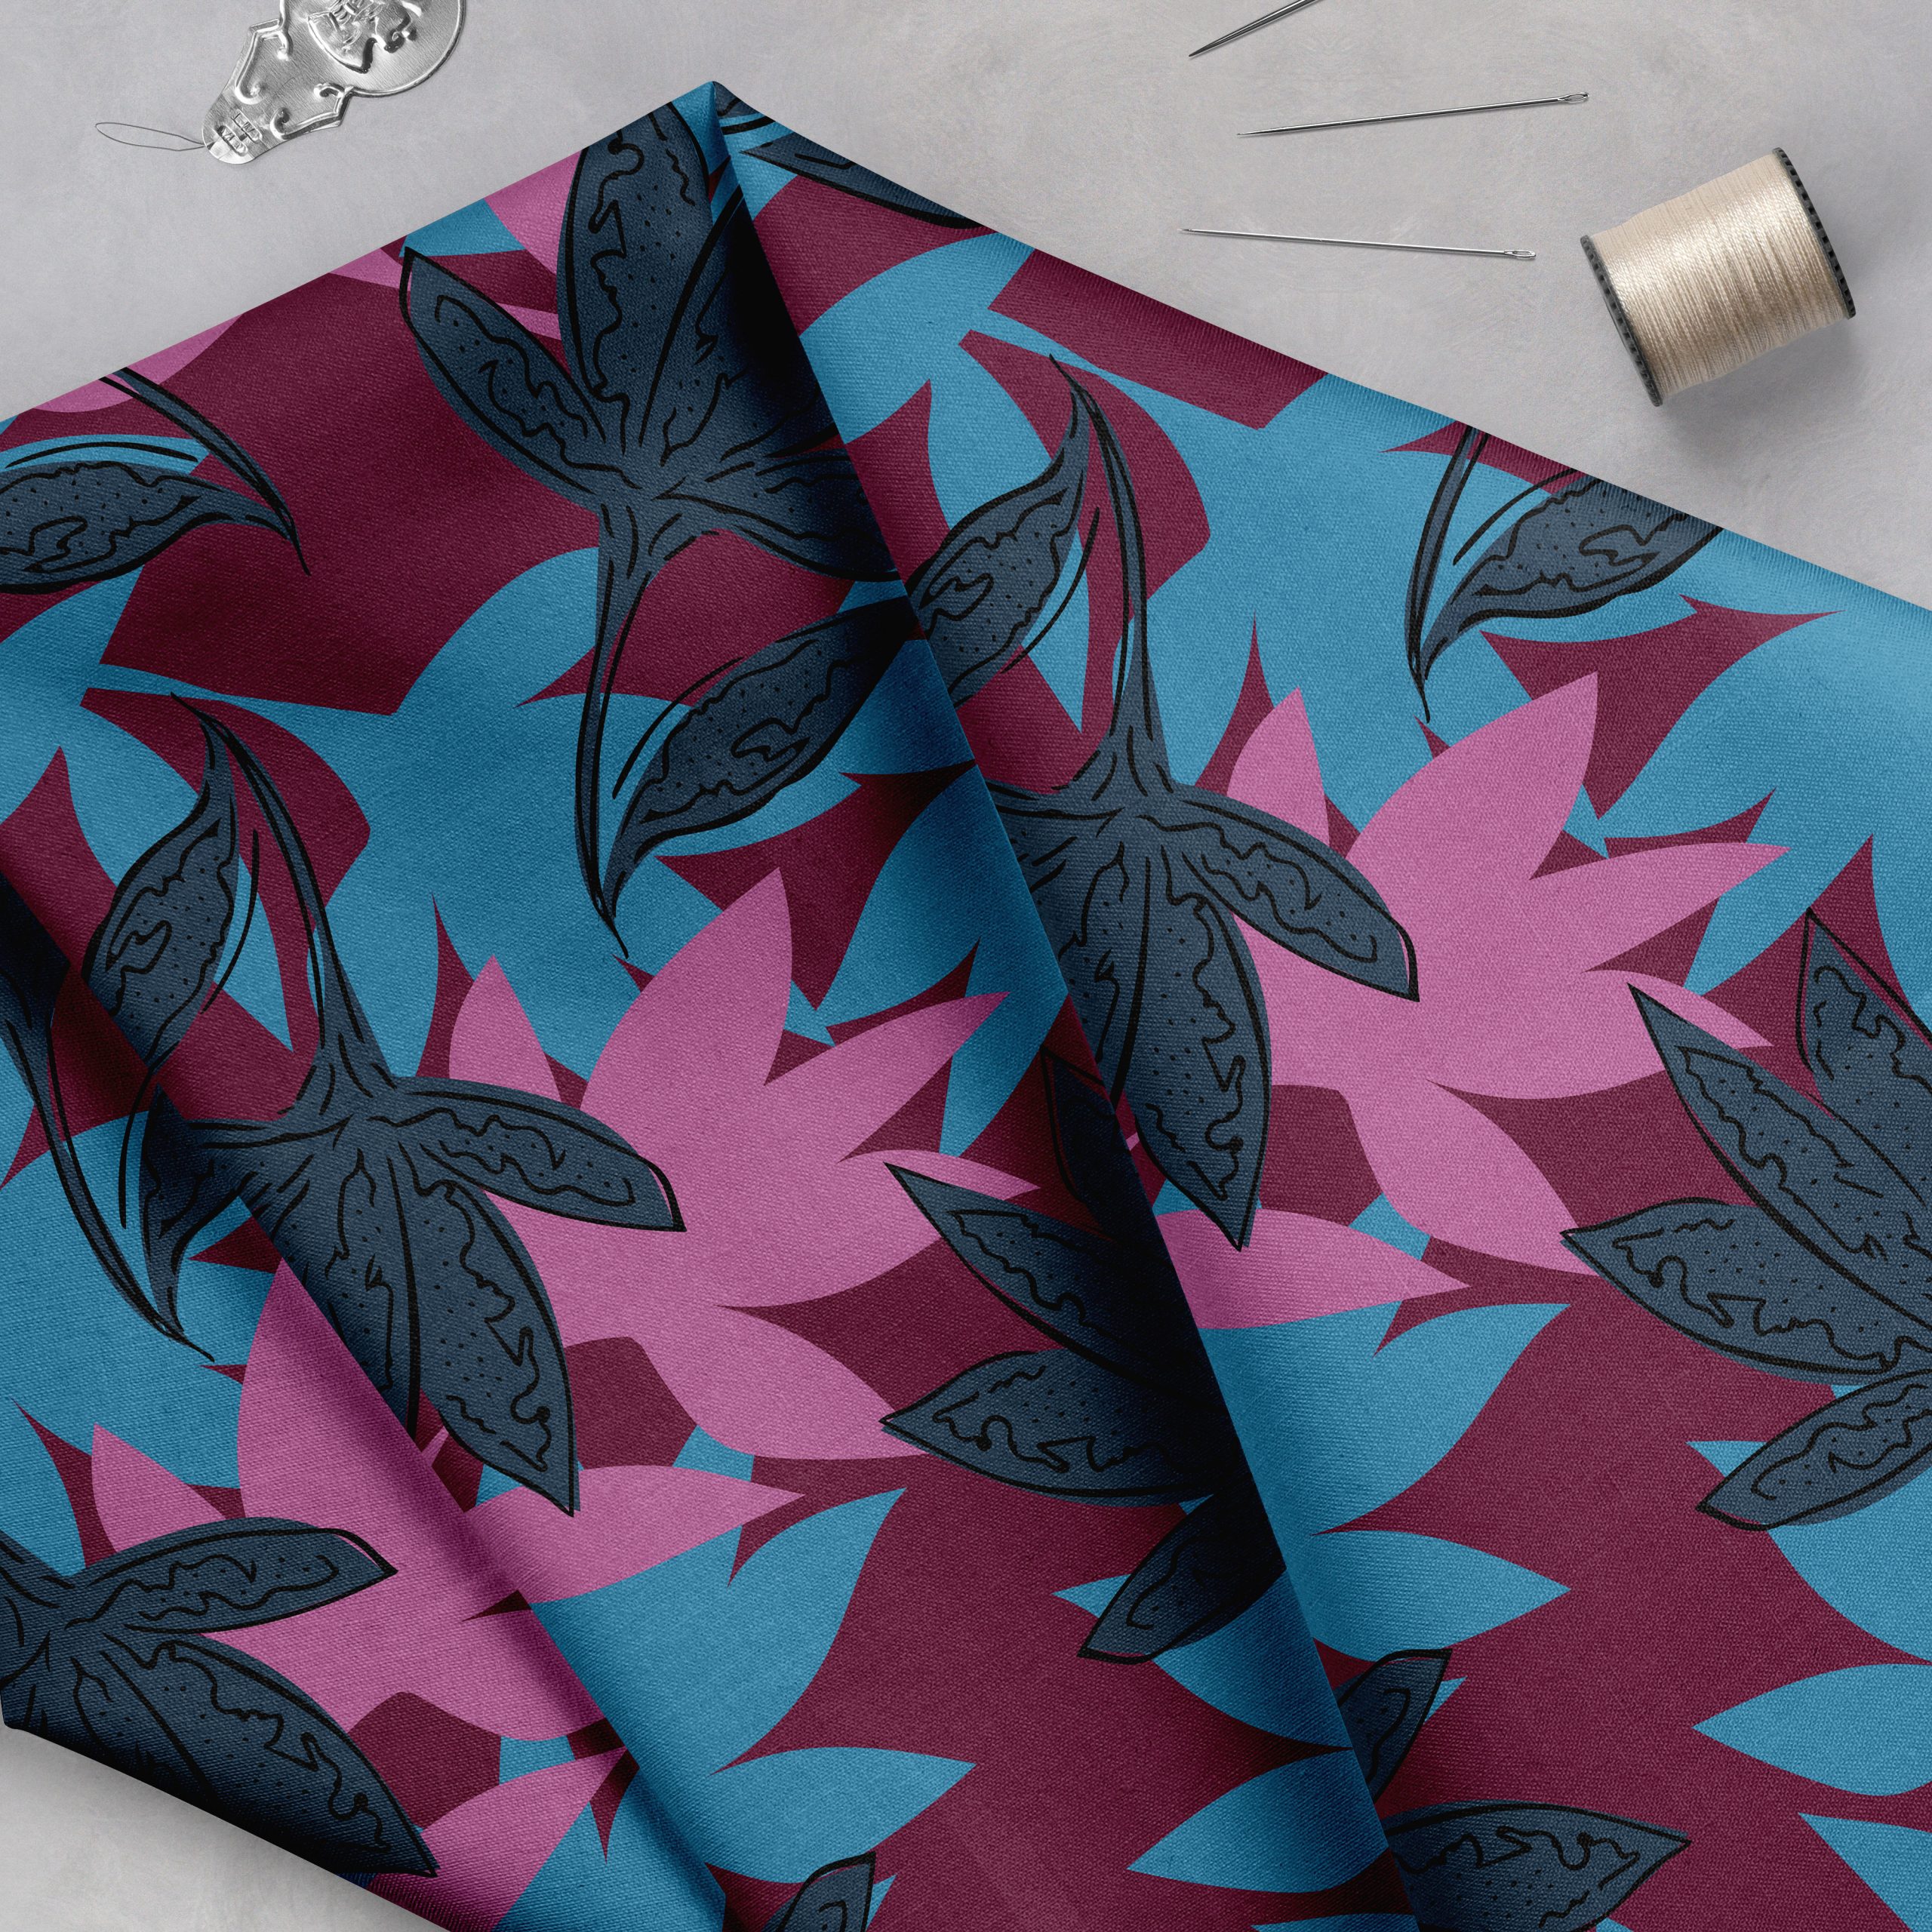
Another great way to strip things back with your designs is to look at them from a new perspective. If you’re used to seeing them on screen, or just as images in-process, consider placing them in the world, and on specific items, as if they’re a finished product. Not only does this help you visualize how the pattern design will look on a three-dimensional item, it will give you a fresh idea about what elements of your pattern are working best, and what might be cluttering things up.
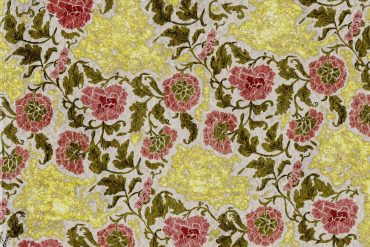
I did this recently with a pattern that was really liberating, quick, and fun to create. I liked my original design, but had a difficult time seeing it on a product.
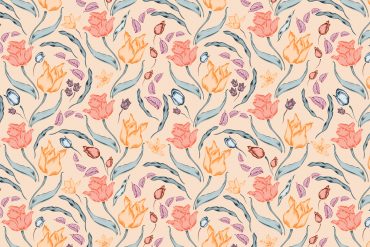
It was just a little too wild for me, but using a mockup helped me to simplify the pattern, and make it more appropriate for a rug design. I applied it to the mockup, and tweaked and reduced colors until it clicked. Suddenly, it worked.
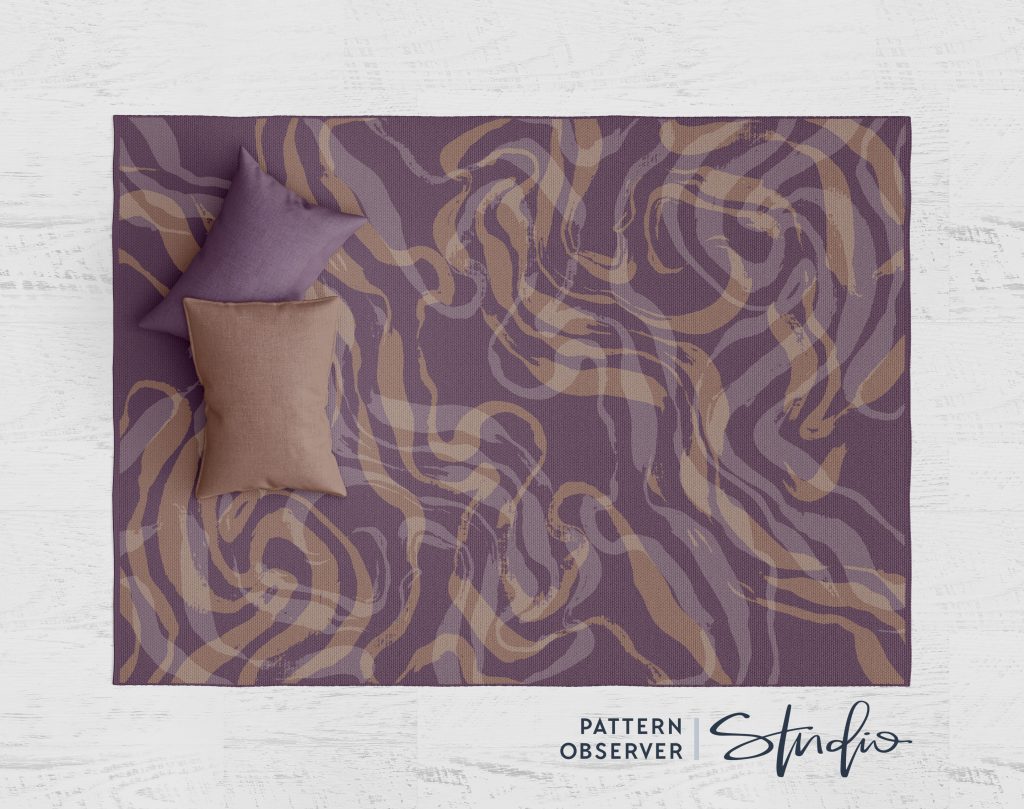
Seeing it on a real-looking product gave me such a different perspective. Have you tried this before with your work? Has it worked for you? Let me know!
Simplify Your Portfolio
Simplicity applies to our patterns, but it also applies to our portfolio. Being able to edit and refine our portfolios is a key aspect of our work, something that allows our work to shine, rather than be lost in a sea of more. In our portfolios, we don’t have to showcase every single thing—we just have to showcase what we truly love, and feel proud of, and feel best represents us and our work.
So, how do you do this?
Choosing the artwork to show on your portfolio website can be a nerve wracking process. It’s normal to feel anxiety and get stuck at times during the selection process. But it’s not impossible! Here’s a quick-start guide, how I approach this question with our Textile Design Lab members:
Step One: Get Organized.
Start by by organizing all your artwork into one folder on your computer or you can use a program like Adobe Bridge. It’s ok to create subfolders of various collections and groups if you prefer, or if they are already organized in that way, but make sure you have all your work in a central location. You don’t want to look in lots of different areas to find what you need—or take the chance of forgetting to consider something you’ve created!
Step Two: Get Focused.
Careful editing is the key to presenting yourself as a professional designer. Resist the temptation to include everything you’ve created, just to see what sells. Buyers and hiring managers are looking for portfolios that wow them right away, so carefully select what you choose to include.
“Always showcase the type of work you want to be doing in the future.”
-Matias Corea, Chief Designer of Behance
Determine what your style is. What do you want to be known for? We’ve all created work that doesn’t represent our current style or the type of work we want to create in the future. It’s okay to remove this old work from your portfolio, even if it’s good. I give you permission! Take it down to the core essentials of who you are, what you’re trying to say, and what speaks to you. If it speaks to you, then chances are, other people are definitely going to listen.

Sort all of this work into a Keep folder, and put the rest into one called Archive.
(And remember, just because it’s not online, doesn’t mean you have to nuke the past work from orbit! Save it, and if you change your mind, it’ll be right where you left it.)
For more experienced designers, or ones with more of a clear view of their ideal target market in the industry, you can further refine your work by considering your target market. A scatter-shot approach doesn’t sing, it just muddies the water. Who do you want to find you? Who do you want to work with? Buyers want to see your style and personality, but it’s more important that they understand how your patterns fit into their existing company culture. That’s why it’s important to include pieces that speak directly to your target market.
(But if this is too much, or you don’t know your market, skip this! You can always refine it later!)
Step Three: Get Specific.
Once you have a Keep folder that knocks your well-designed socks off, you can start to think about ways to group those items into logical collections, or thematically consistent categories.
Maybe those categories reflect seasonal trends, or maybe they are by pattern style. In our studio, we have work divided into these categories: Children & Baby, Winter Holiday, Valentines, Textural & Abstract, Ornamental, Halloween, Global, Easter, Conversational, Autumnal, Animals, Geo, and Florals. Maybe some of these categories might work for you, or maybe you’ll find new ones that are even better!
If you still have questions, or want to get an even more fine-tuned approach to curating your portfolio, we’re so pleased to offer an amazing online course on The Art of Portfolio Curation. This course covers everything from how to identify your creative process and strongest themes, to where (and when!) to showcase your best work. Come on by and find out more! We would love to have you join us.