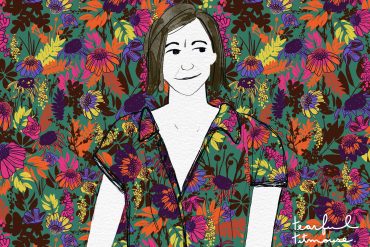
Each month in the Textile Design Lab we welcome an industry expert who offers training in their area of expertise. Shyanne Clarke is an Australian textile designer who runs Dail Design Studio, and has been our guest expert for the month of June. She creates “print ready, on trend designs, using watercolour, illustration, ink, photography + digital/graphic design.” You can read more about her in our interview here. Below you will find an excerpt from Shyanne’s step-by-step guide to creating a multimedia floral print. Join us today in the Textile Design Lab to access the full tutorial!
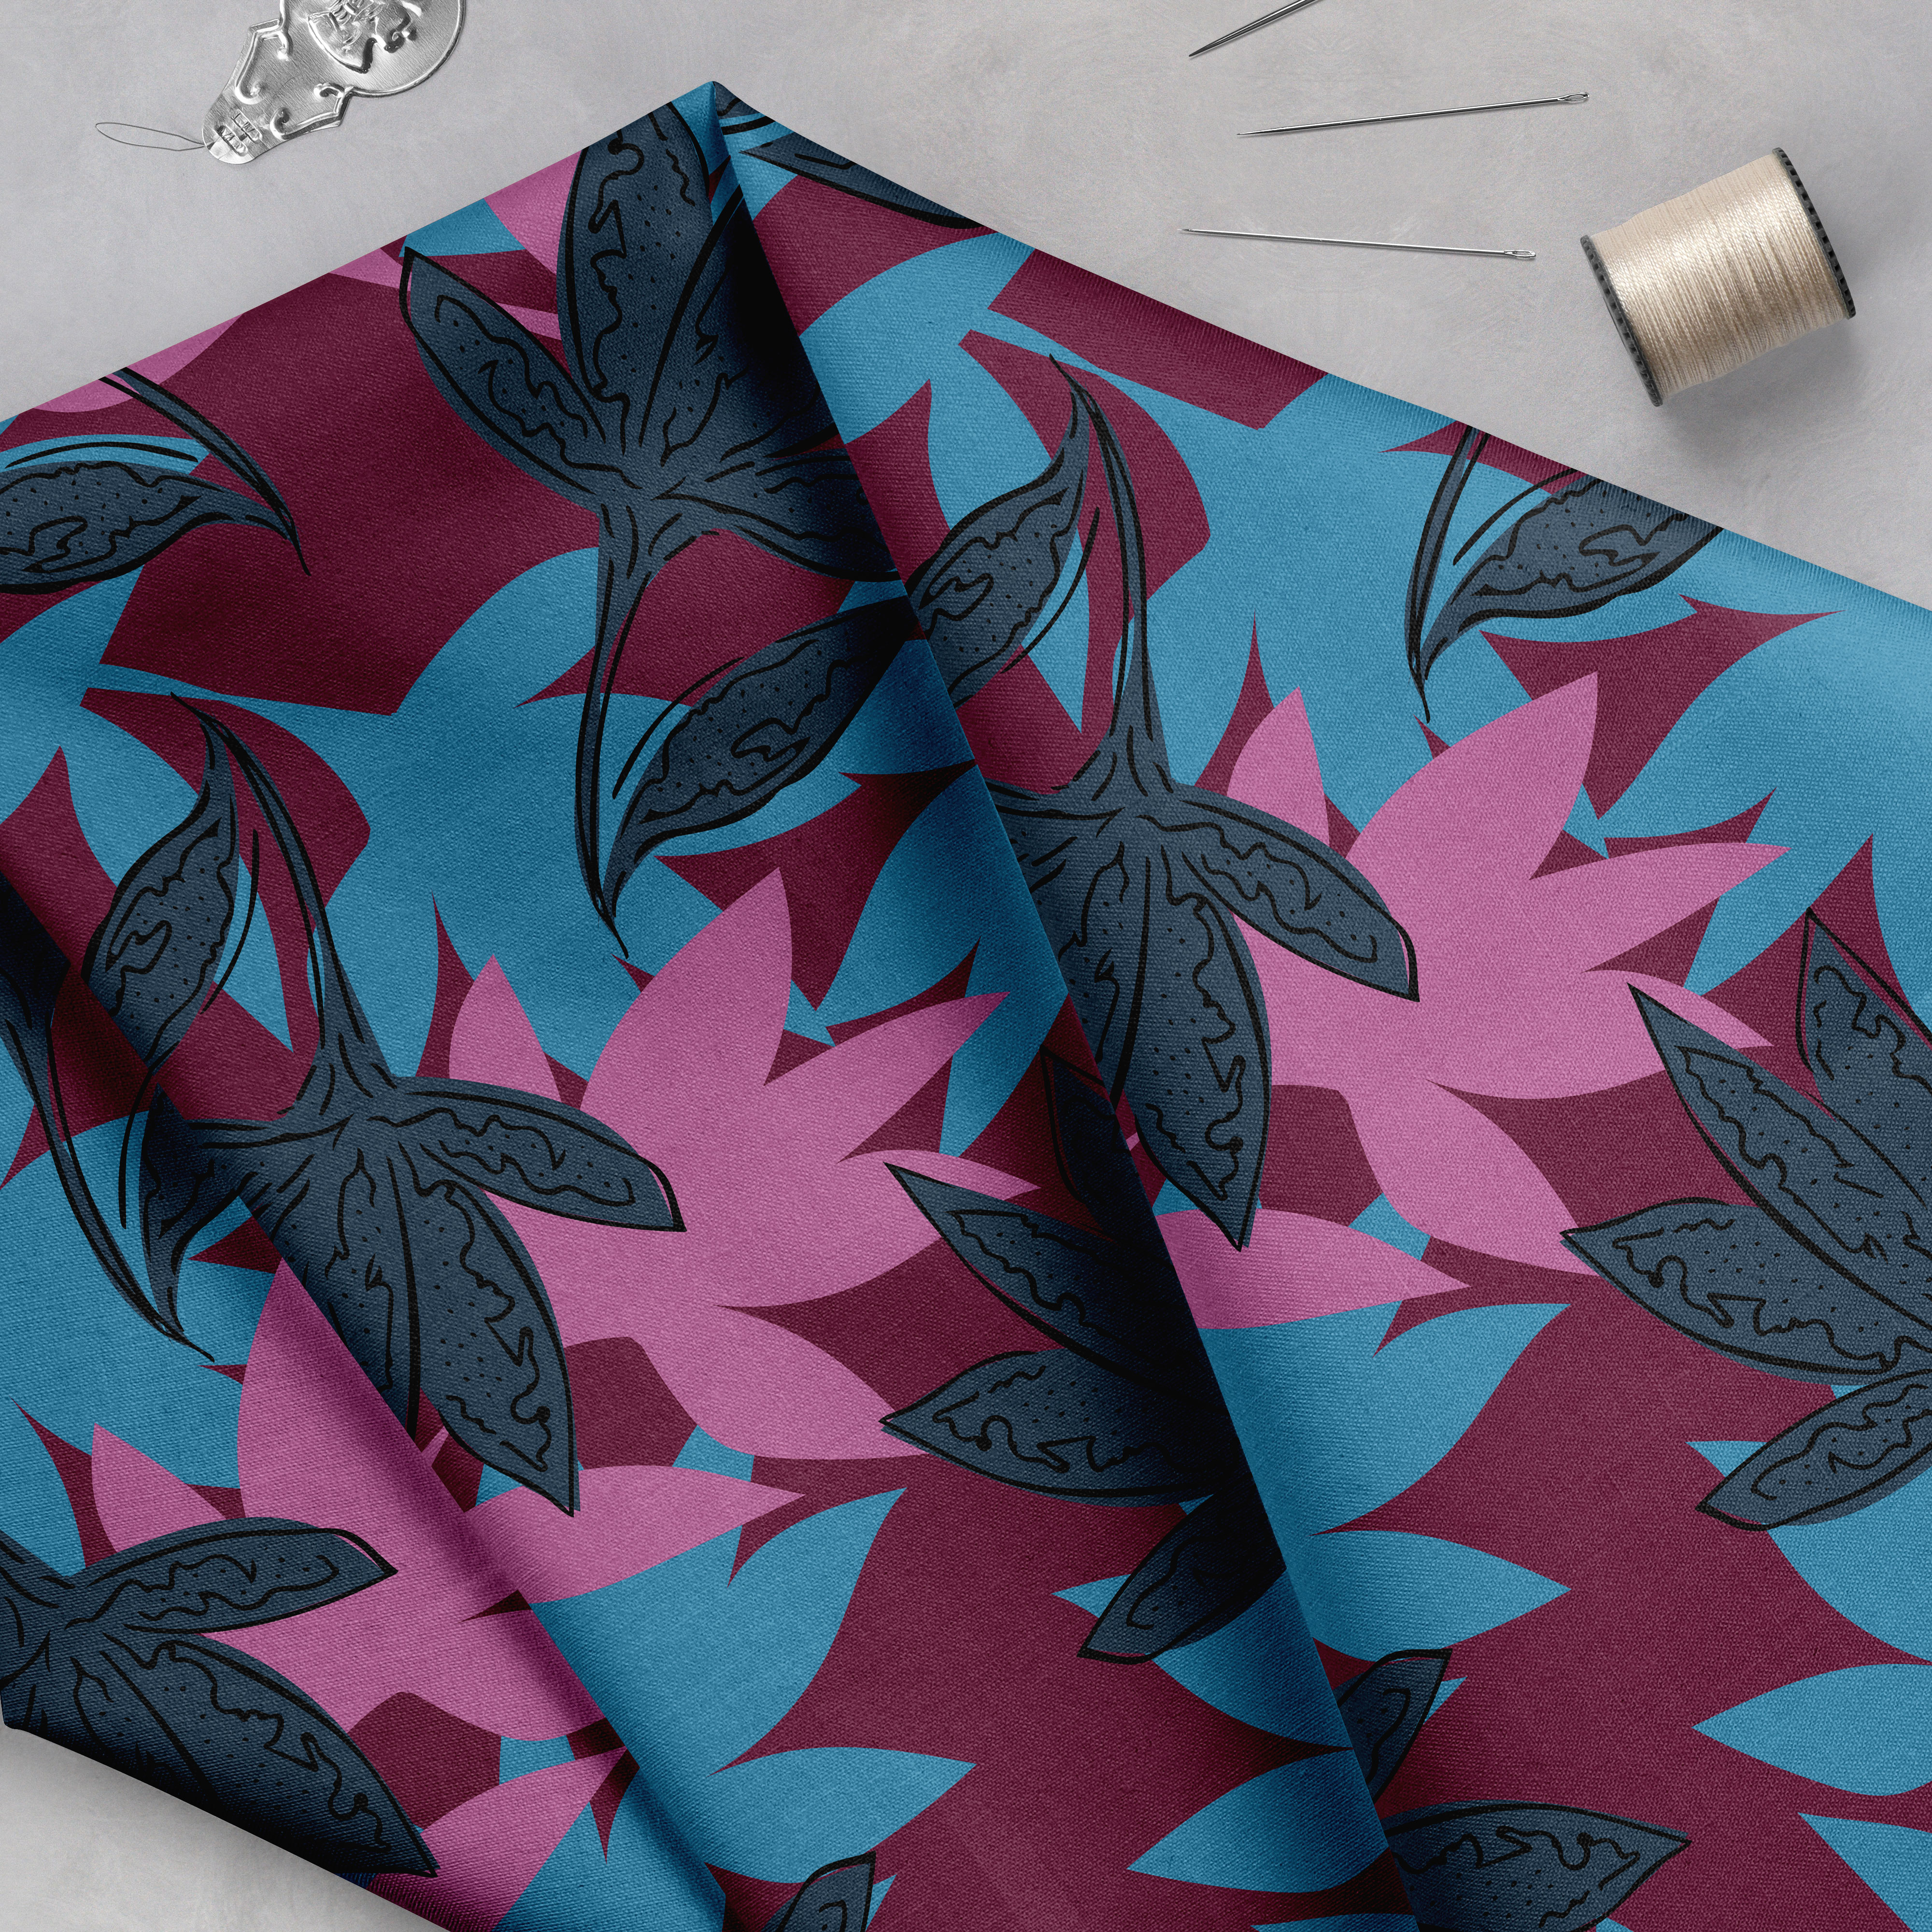
Today I will show you how to create a multimedia floral print for womens fashion.
Floral prints make up 70% of the textile market, I’m glad too because they are my favourite type of print to create. Given that they are so popular and a print I do often, I need to make sure I still create a unique print with my signature look. Over the years I have learnt a few tricks and techniques that help me create unique prints which I will share with you today.
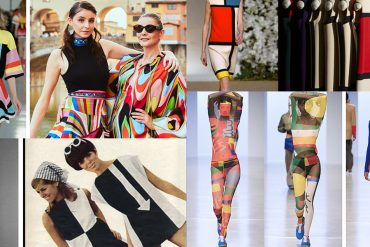
First up, I like to find inspiration from Pinterest, books I find from the library/bookstores/thrift stores + of course nature itself. You can take photos of flowers in your garden, at your local park or if you are really stuck, I have found some great florals to photograph at my local hardware/garden store.
Pinterest is fabulous for finding elements and photographs of pieces you want to draw, discovering unique colourways and seeing what is trending in fashion. If you don’t have any Pinterest boards, start today, it’s free to sign up and because it’s on the internet, you can get inspired anywhere – anytime.
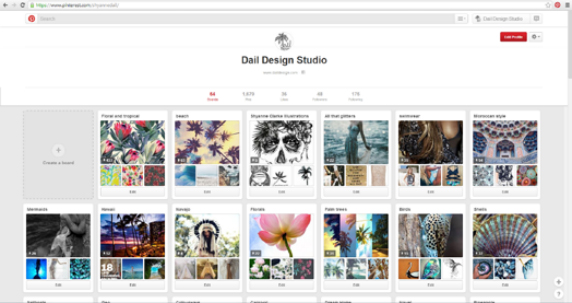
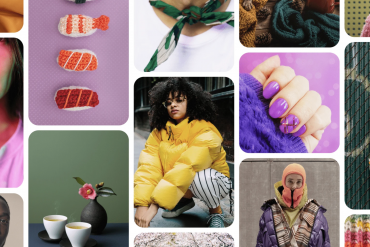
This is a screen capture of just a few of my boards on Pinterest, they grow weekly with new directions I want to follow and get inspired by.
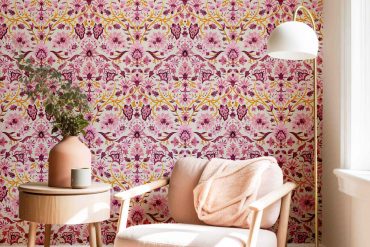
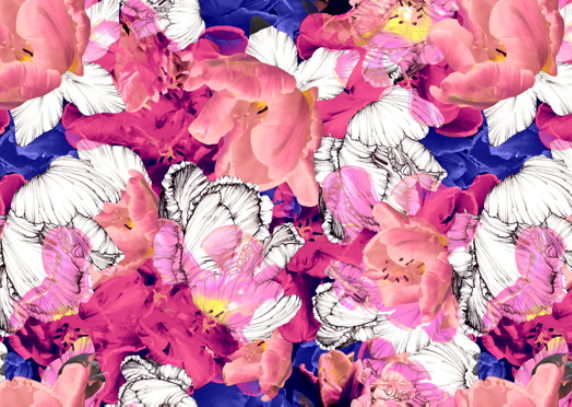
When I am designing a print for fashion, I aim to have at least six different elements to create variety and give it a designer feel. I also want to try and create levels within the print. What I mean by this is elements that stand out in different ways to each other on the repeat. This can be achieved with different styles eg. drawn and photographic elements. Or using colour, complementary colurs for greatest variance or black and white with colour. Also filters can help you achieve a different level and even just a plain or textured background. Creating these levels gives your print depth and leads the eye around the print discovering new details and makes it more interesting and special. As for creating the perfect repeat, the very best place to learn is through Pattern Observer: The Ultimate Guide to Repeats. (I genuinely believe this, I have not come across a better guide to learning how to repeat, even if you already know how to put a print in repeat, you will still learn from this guide.) Once you have decided on your photographs and/or handdrawn elements, you need to get them ready for your print.
Pulling elements from photographs and/or scanned images for your print.
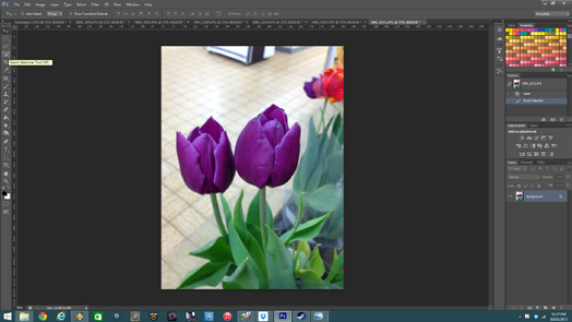
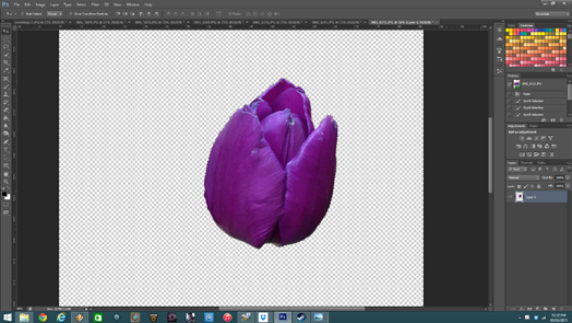
 1. Open image in Photoshop (I am using Photoshop CS6)
2. Bring up the quick selection tool (Alt/Cntrl + W)
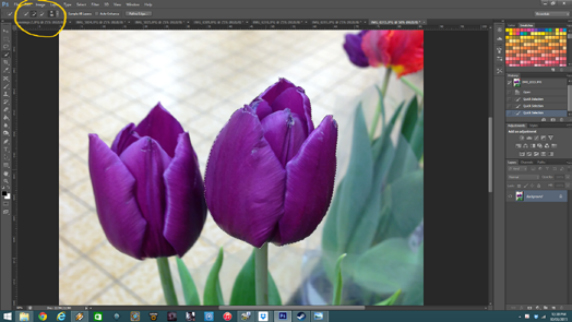
3. Using the positive selection, highlight the piece of the image you want to use. In this case the tulip.

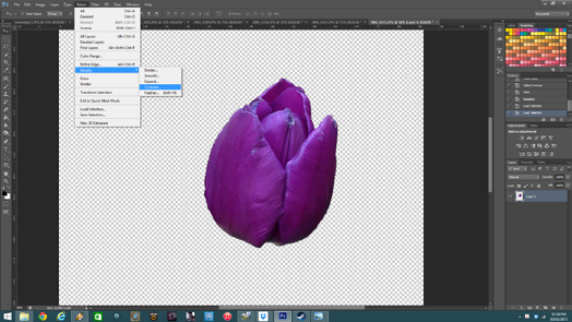
4. Smooth your selection to create a nicer finish.
-Select
-Modify
-Smooth
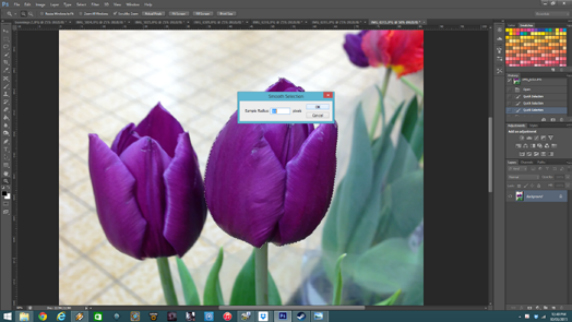
5. Sample Radius: 10 pixels. OK. (You can play around with the pixel size depending on the size of your image.)
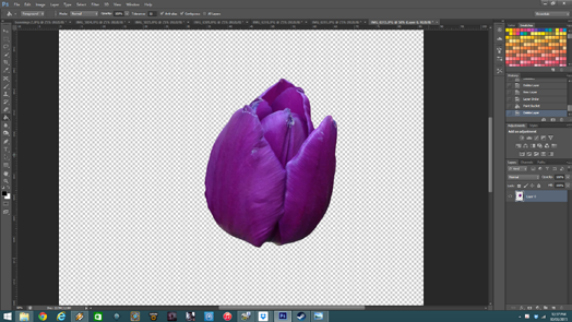
6. Delete. This will remove the unwanted part of your image.
Hint: If the flower deletes when you do this, you have inverted the selection. (Cntrl/Alt + Shift + I to invert the selection) (If nothing happens, check that your layer is unlocked)

FYI: While best practice states you should mask the image, I personally prefer this method.
7. Cntrl/Alt + D (to deselect)
Cntrl/Alt + Select image in layer panel (to select flower)
-Select
-Modify
-Contract
 8. Contract: 3 pixels, OK. (Again you can play around with this number depending on the size of your image and how much you need to crop.)
9. Cntrl/Alt + shift + I (invert contraction) Delete.
The purpose of doing this process is to remove any extra piece of the image from the cropped flower, you don’t want any coloured lines framing the flower, this really sharpens the image and gives it a quality finish.
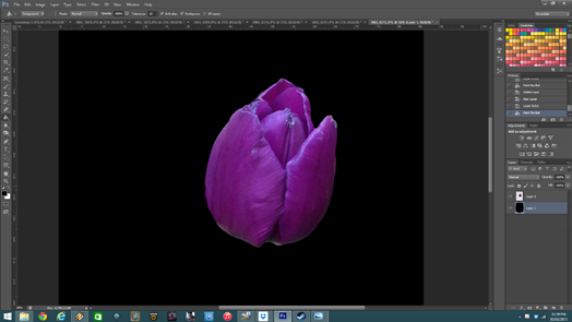
10. You can check the crispness of your image by putting a dark background behind the image. This will help show up any imperfections. Follow steps 7-10 until your image looks sharp.
Hint: After practicing this a few times, you will become quicker at the process and you will recognise the amount of pixels needed to crop the image correctly the first time.
Complete these steps for every element you want to bring into your print.
Become a member of the Textile Design Lab to see how Shyanne combines these photographic florals with hand-drawn sketches, applies filters, arranges the pieces on a canvas and adjusts the colors. TDL membership is just $49/month and in addition to our monthly guest expert tutorials you also will receive access to our private forum, a variety of e-courses, monthly design challenges and tons more fun and helpful content to get your textile design career off the ground!