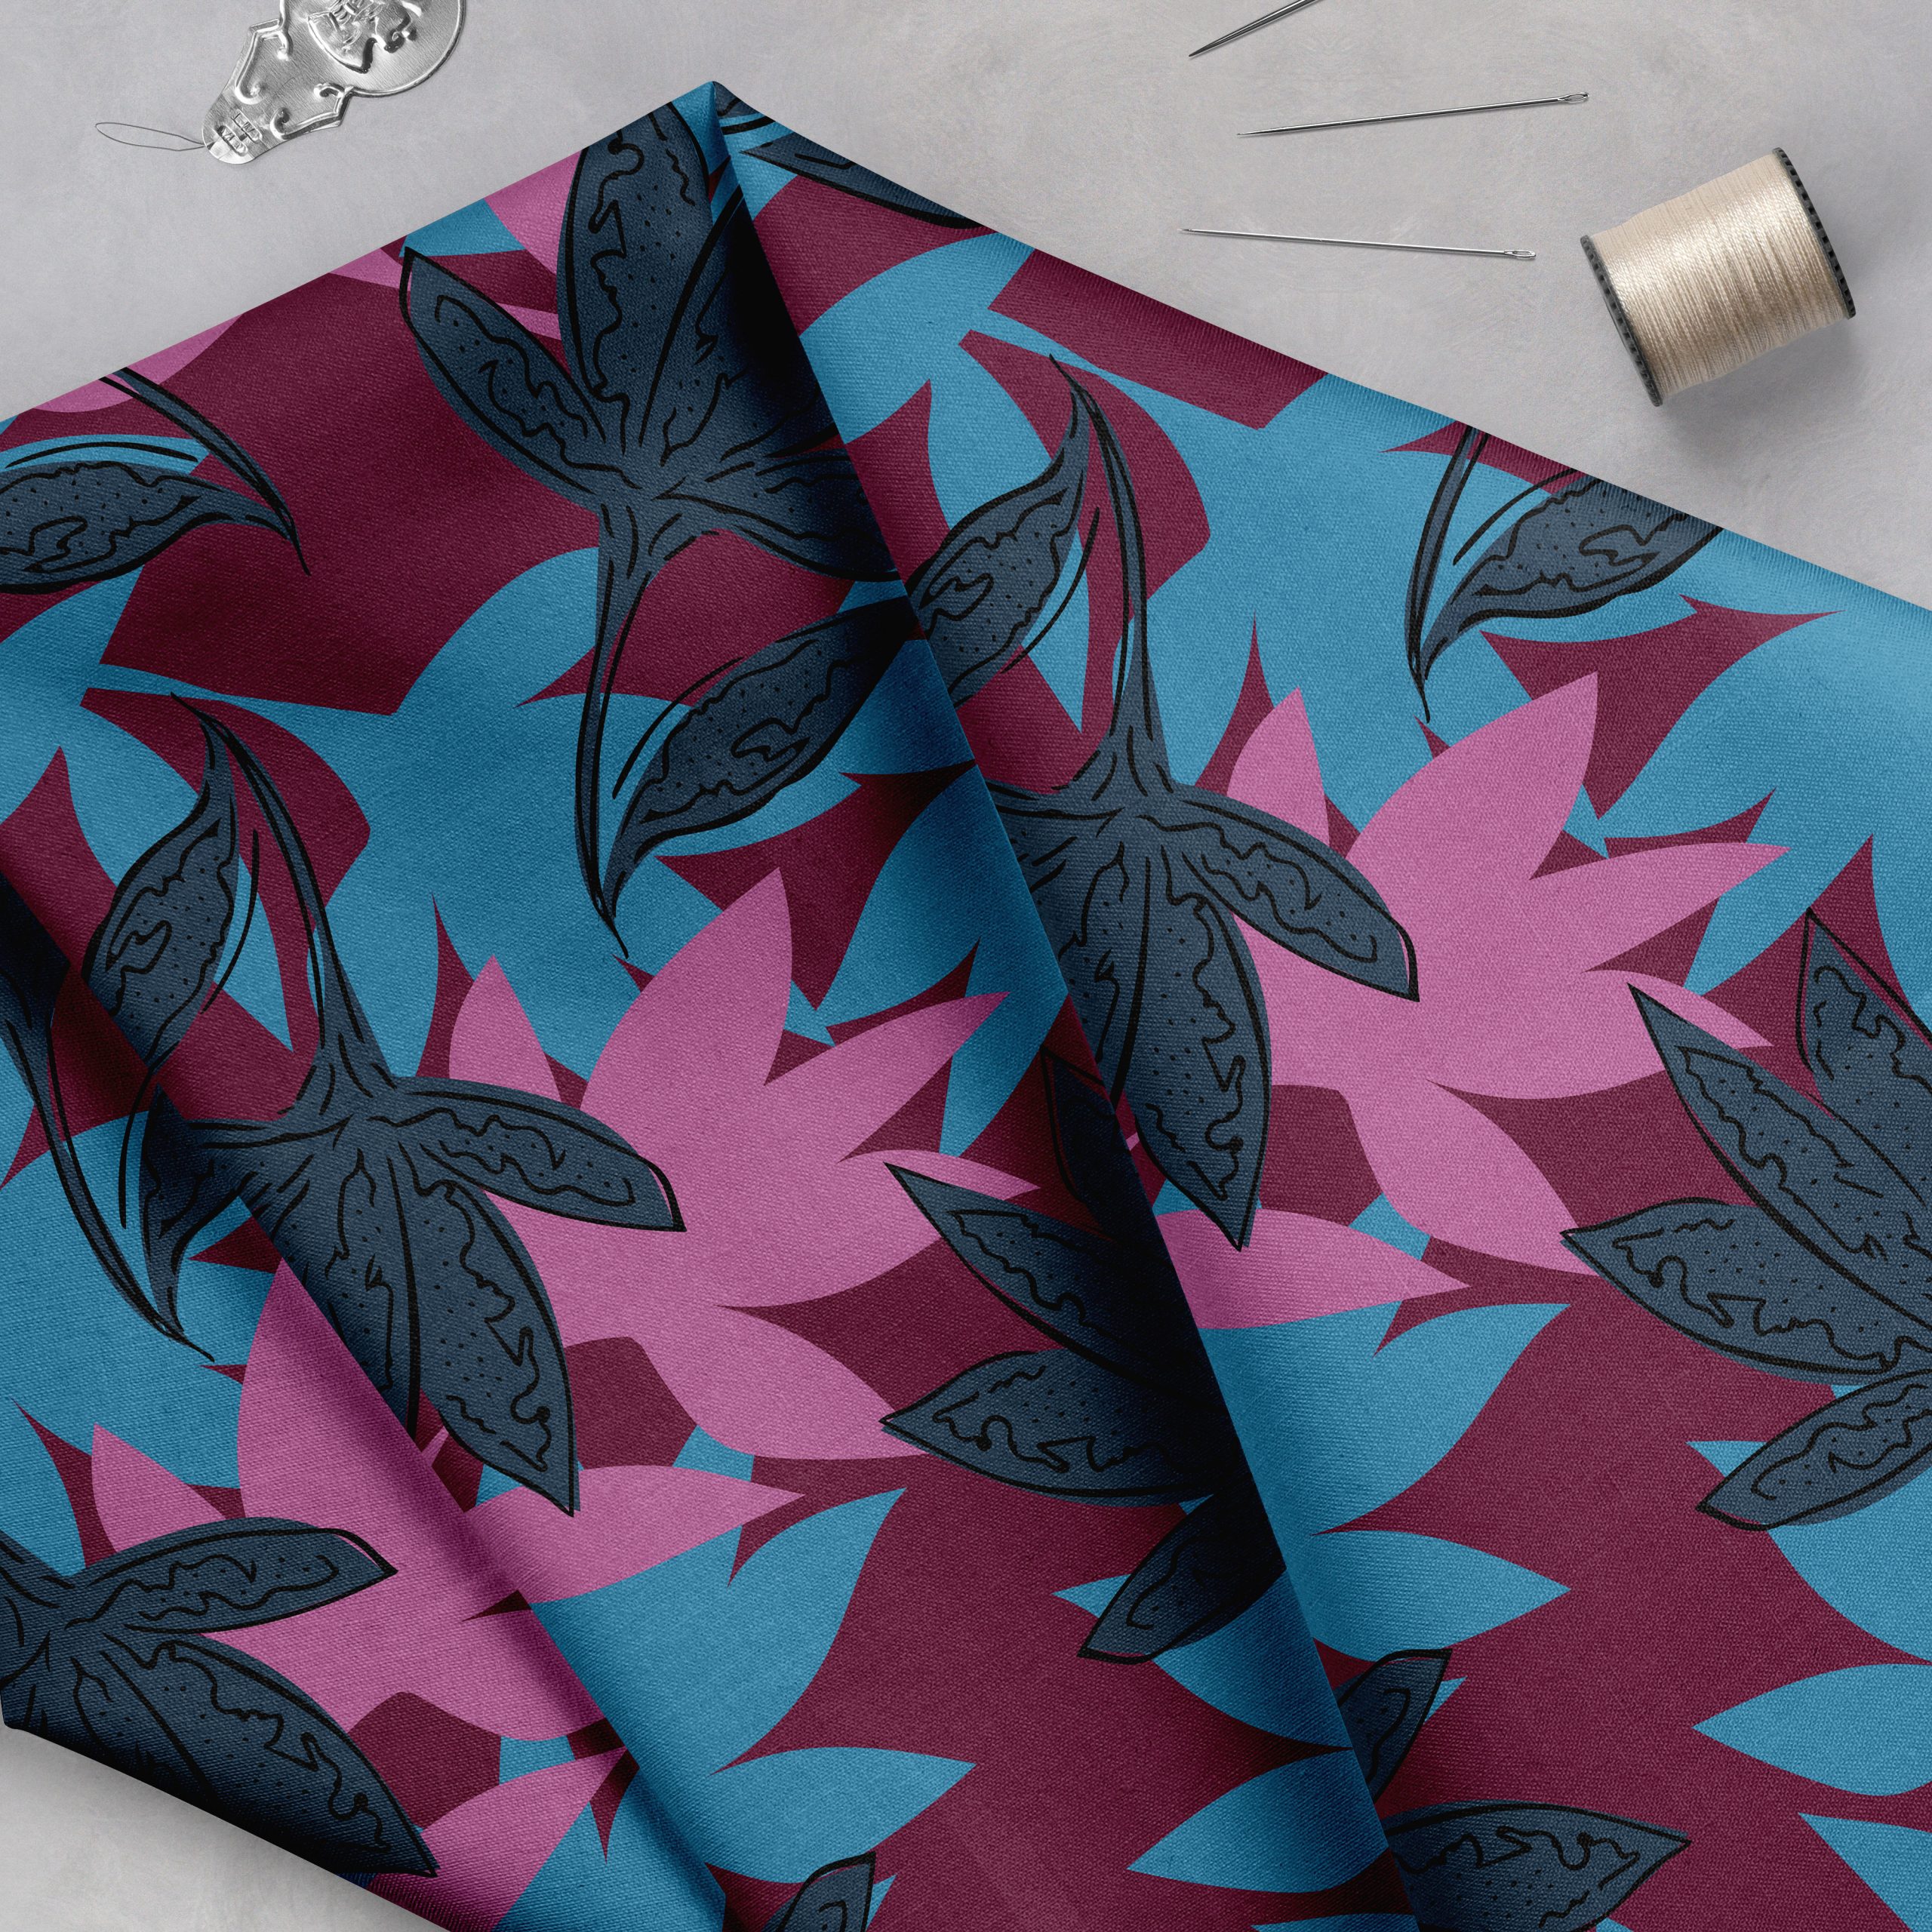
A repeat pattern is the foundation of almost everything in the textile and surface pattern industry. Fabric, wallpaper, gift wrap, stationery- anything produced at scale starts with a repeat tile that the factory can replicate infinitely without visible seams.
If you’re new to repeats, the process can feel overly technical. Once you understand the logic, it becomes second nature. This guide covers the main repeat types, step-by-step methods for both Adobe Illustrator and Photoshop, and the most common mistakes to watch for before you send files to a client or manufacturer.
What a Repeat Pattern Actually Is
A repeat pattern is a single unit of artwork, called a tile, designed so that when it’s placed side by side and stacked, the edges connect seamlessly and the pattern extends infinitely in all directions without obvious joins.
The tile itself can be simple or complex. What matters is that the design works as a repeating system: motifs that run off one edge of the tile must re-enter on the opposite edge, in exactly the right position to connect with the adjacent tile.
Getting that connection right, consistently, and cleanly, is the core technical skill of repeat construction.
The Main Repeat Layouts
Before you build a repeat, decide which layout structure suits your design. The layout determines how your tiles are arranged relative to each other.

Straight Repeat (Square Repeat)
The simplest layout: tiles are arranged in a grid, with each row and column aligned. Motifs repeat at regular horizontal and vertical intervals. This works well for geometric designs, structured layouts, and anything where the repeat unit itself is visually interesting on its own.
Half-Drop Repeat
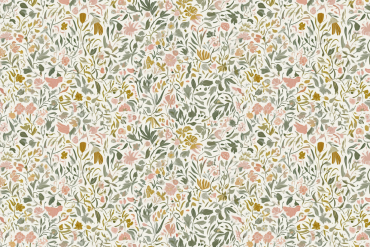
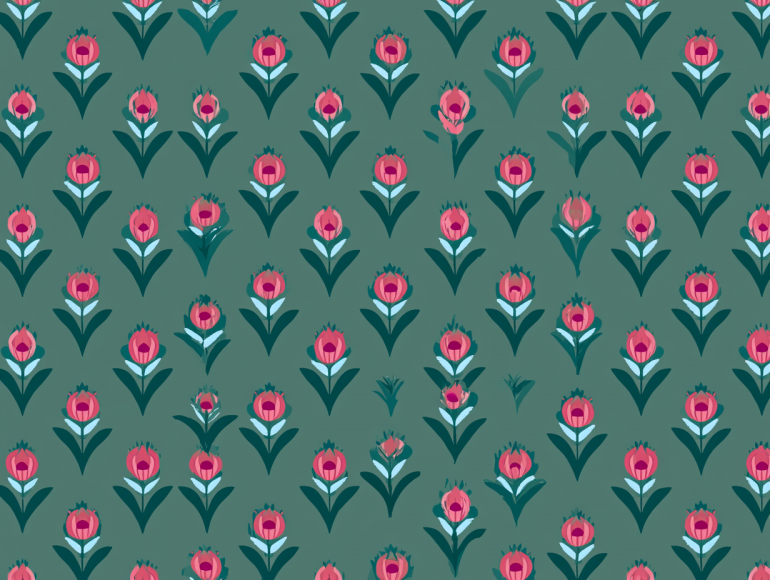
Each column of tiles is shifted down by 50% of the tile height. This creates a more flowing, organic feel — ideal for florals, botanicals, and designs where you want to avoid an obvious grid structure. Most commercial fabric patterns use a half-drop or brick layout for exactly this reason.
Brick Repeat
The same principle as half-drop, but horizontal: each row is offset by 50% of the tile width. The result looks like a brick wall. Also useful for organic designs and breaking up visible horizontal lines across the pattern.
Mirror and Rotation Repeats
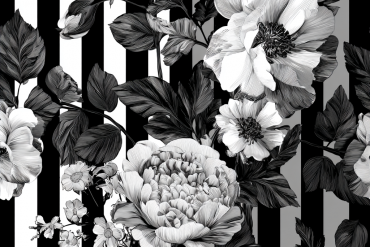
These layouts use reflected or rotated versions of the tile to create symmetry. They’re common in geometric and architectural-inspired patterns, and can produce complex-looking results from relatively simple source artwork.
Tossed Layout
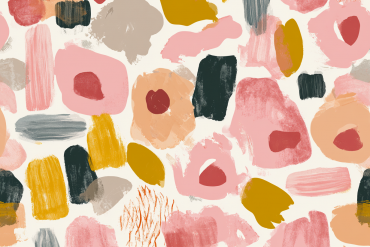
Not a structural layout in the same sense — a tossed pattern distributes motifs without an obvious directional or structural repeat. The tile still has edges that need to connect, but the goal is to make the repeat as invisible as possible. One of the most commonly used layouts in commercial textile design.

How to Create a Repeat Pattern in Adobe Illustrator
Illustrator offers two methods: the Pattern tool (available in CC) and the manual method. The Pattern tool is faster for experimentation; the manual method gives you more precise control and is what most professional designers use for production files.
Method 1: Illustrator Pattern Tool (CC)
This is the quickest way to preview a repeat while you’re still developing the design.
- Create your artwork on an artboard at the size you want your repeat tile to be.
- Select all artwork (Cmd/Ctrl + A).
- Go to Object > Pattern > Make. Illustrator will enter Pattern Editing mode and show you a live tiled preview.
- In the Pattern Options panel, choose your tile type (Grid, Brick by Row, Brick by Column, Hex by Column, Hex by Row) and adjust tile width and height.
- Reposition and edit motifs directly — the live preview updates in real time, so you can see how edges connect as you work.
- When you’re satisfied, click Done in the bar at the top. The pattern is saved to your Swatches panel.
- Draw a rectangle and apply the pattern as a fill to see how it looks at scale.
Note: the Pattern tool is excellent for development but the resulting swatch may need to be expanded and cleaned up before sending as a production file. Always expand and check the final artwork before delivery.
Method 2: Manual Repeat (Production Method)
This is the method most professional textile designers use for files going to clients or manufacturers.
- Set up your artboard at the exact repeat tile size you want (e.g., 12″ × 12″ at 150dpi, or whatever your client specifies). This tile size is your repeat.
- Create your artwork within the artboard. Motifs that you want to continue across edges need to be deliberately placed so they run off one side and re-enter on the opposite side.
- To create seamless edges manually:
- Duplicate a motif that sits near the right edge of the artboard
- Move the duplicate exactly one tile-width to the left (so it aligns with the left edge)
- Do the same vertically: duplicate motifs near the bottom edge and move them up by exactly one tile-height
- Use Align to Artboard and exact numeric positioning (the Transform panel) to ensure precision
- Check your work by duplicating the full tile and placing copies side by side — above, below, left, right — to verify that all edges connect without gaps or awkward joins.
- Prepare the final file: make sure all artwork is within the artboard boundaries (or cropped to the artboard). Expand any pattern fills, outline fonts, and flatten transparency if the client requires it.

How to Create a Repeat Pattern in Photoshop
Photoshop’s repeat workflow uses the Offset filter to expose the seams of your tile — letting you fill them in before the pattern is set.
The Offset Method
- Create a new document at your repeat tile size (e.g., 3000 × 3000px at 150ppi for a 20″ × 20″ repeat at 150dpi).
- Create your artwork on this canvas. Keep it loose — don’t place motifs right at the edges yet.
- Flatten a working copy of your artwork to a single layer (duplicate your document first so you keep the layered original).
- Go to Filter > Other > Offset.
- Set the horizontal offset to exactly half the canvas width (e.g., 1500px for a 3000px-wide document)
- Set the vertical offset to exactly half the canvas height (e.g., 1500px)
- Choose Wrap Around
- Click OK
This shifts your artwork so that what were the edges of the canvas are now visible in the centre of the image — exposing the seams where the repeat tile meets itself.
- Fill the seams by painting, stamping, or adding motifs to cover any obvious joins or empty areas in the centre of the canvas. Work on a new layer above the shifted artwork so you can adjust without destroying what’s beneath.
- When the seams are filled and the design looks cohesive, check the offset again (same settings) to make sure your fills haven’t created new seams. Repeat until the tile looks seamless.
- Define the pattern: go to Edit > Define Pattern, name it, and click OK. The pattern is saved to your Pattern library.
- Test it: create a new large document (e.g., 5000 × 5000px), go to Edit > Fill > Pattern, select your new pattern, and apply it. This is your full-scale preview. Look for any seams, awkward gaps, or areas where motifs cluster unintentionally.
Pattern Preview (Photoshop 2021 and later)
Newer versions of Photoshop include a Pattern Preview mode (View > Pattern Preview) that shows a live tiling of your canvas as you work — similar to Illustrator’s Pattern tool. If you have a recent version, this significantly speeds up the development process: you can see the repeat in real time without running the Offset filter back and forth.
Common Repeat Mistakes to Avoid
Misaligned edges. The most common error is motifs that don’t connect cleanly across tile boundaries. Always check by placing tiles side by side, and use numeric positioning rather than eyeballing alignment.
Obvious repeat lines. When motifs cluster along the tile edges or when the spacing creates a visible grid, the repeat reads as mechanical. Add variation in density and scale within the tile to break up the structure.
Too few motifs. A repeat tile with only one or two motifs will show obvious repetition at scale. Aim for enough variety within the tile that the eye moves around the pattern without landing on the same element repeatedly.
Wrong repeat type for the design. A straight repeat can look stiff with organic florals; a half-drop almost always improves them. Consider which layout suits your artwork before you commit.
Not checking at production scale. A repeat that looks good at 100% on screen can look very different at the scale it will be printed — much larger for home decor, much smaller for apparel. Check at both scales before delivering.

Ready to develop your repeat skills further? Pattern Observer’s design tutorials cover repeat construction, color, Illustrator techniques, and more — browse the full archive for free resources.
Taking Your Repeat Work Further
Understanding the mechanics of a repeat is the starting point. The next layer is designing repeats with specific markets in mind — knowing what repeat size a quilting manufacturer expects, what color count limitations a screen printer works within, and how to build a collection of coordinating repeats that work together as a range.
That’s where industry knowledge intersects with technical skill, and it’s the work that Pattern Observer’s Textile Design Lab is built around — expert-led education, live feedback, and a community of designers working through exactly these questions.
If you’re building your practice and want structured guidance alongside the technical skills, explore membership here →