Each month in the Textile Design Lab we welcome an industry expert who offers training in their area of expertise. For the month of February we have been lucky to have Maria Ogedengbe on board as our guest expert. Maria works across a range of disciplines, most often with projects that unite textile arts with a painter’s concerns. She earned her MFA from Yale University School of Art in Painting/Printmaking, and her studio, ESTUDIO mariaurora, is located in Kansas City’s West Bottoms. You can read more about her in our interview here.
Please enjoy this brief excerpt from Maria’s inspiring training on lo-temp batik techniques! Join us today in the Textile Design Lab to access the training in its entirety.
LO-TEMP BATIK
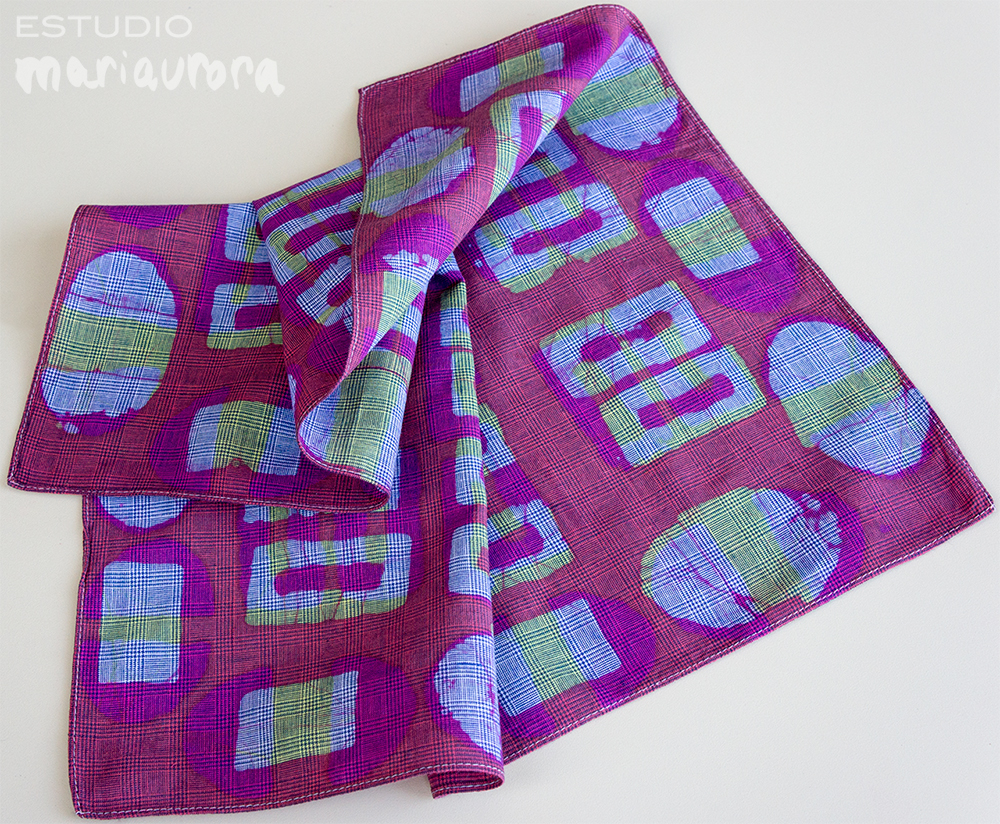
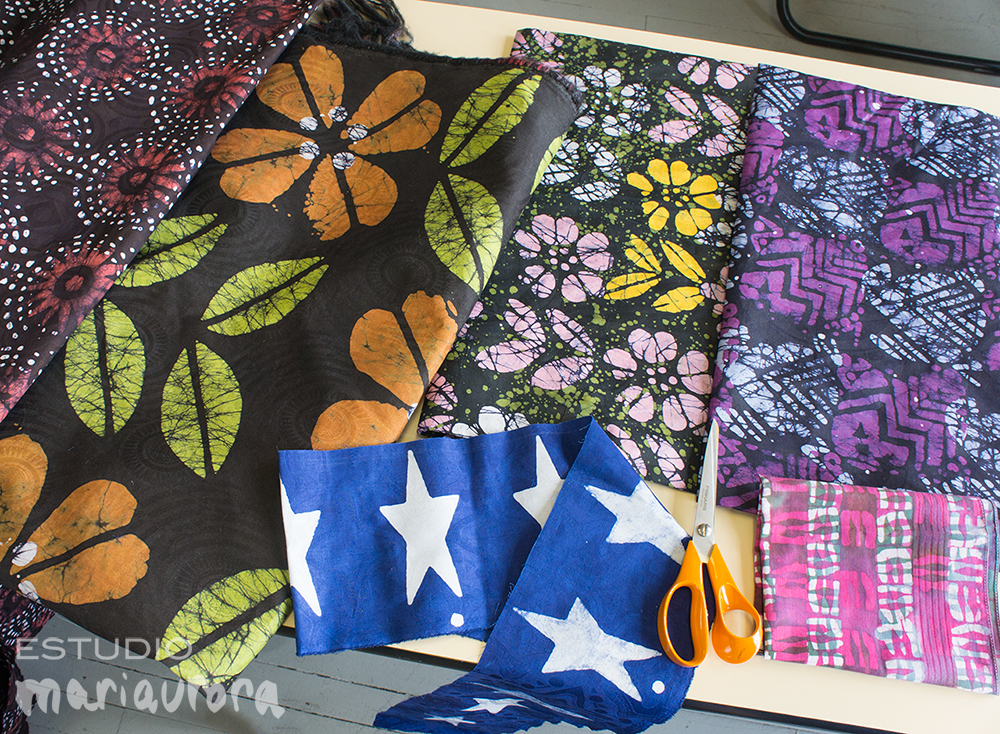
Batik is a resist method so there’s an X-ray-like reversal through which color affects untouched areas only. Batik motifs are often produced through block-style printmaking, and this provides yet another reversal (particularly noticeable where wording is concerned). Fine veins of color created by dye infiltrating cracked wax are batik’s hallmark, as is the occasional waxy drip. We’re charmed by these idiosyncrasies that remind us of how batik fabrics are patterned by hand, whether handkerchief by handkerchief or one 5 yard length at a time.
With traditional batik, the wax melts at 200+ degrees Fahrenheit which presents complications for artists, the greatest of which is removal of wax from the cloth ~
>> This alternative LO-TEMP BATIK lesson in the Textile Design Lab makes use of low-temperature soy wax in tandem with methods borrowed from dyers working in Africa.
Quick Overview
1) wash and iron an all-cotton handkerchief
2) with sharp scissors, snip simple stamps from scrap foam rubber
3) in a dedicated electric skillet, heat soy wax to the lowest setting
4) dip stamp in shallow, melted wax and press to handkerchief laid over a waxed board; repeat
5) soak the waxed cloth in soda ash solution for 5-10 minutes
6) prepare 1 cup of fiber reactive dye
7) transfer wet fabric to dye and gently prod/agitate/rotate for 20-30 minutes
8) rinse dye out in cold, then hot water
9) to remove wax dowse with boiling water, stir, transfer to bucket of cold water
10) rinse in running cold water, wring, and iron dry!
Details
Because soy wax melts at such a low temperature it’s rather fragile. I find it works best with a smaller piece of fabric, a handkerchief is a good size.
Small pieces of fabric are suitable for scanning should you wish to use your batik as the basis for a repeat motif or with digital art otherwise. Small pieces can also be used as focal points or accents with a larger sewing or art project.
All-cotton, viscose rayon, or silk is needed for use with fiber reactive dyes. Mercerized fabric or fabric from a dyer’s supplier will work best, suggestion: do a test with a fabric you haven’t used before.
Consider planning your layout ahead of time. Some artists like to mark a grid on the fabric (with chalk or perhaps pencil) that corresponds to the desired layout. When using successive dye baths for a multi-colored design, you’ll usually want to work from the lightest color to the darkest. You could progressively add more wax after each color, but I find it easiest to remove the wax after each dyeing. The soy wax is relatively soft and can’t withstand a lot of rinsing.


Become a member of the Textile Design Lab to access Maria’s full tutorial on lo-temp batik, including where to find materials, important safety tips, and her step-by-step process to achieving results like the ones seen above. TDL membership is just $49/month and in addition to our monthly guest expert tutorials you also will receive access to our private forum, a variety of e-courses, fun design challenges and lots more exciting and helpful content to get your textile design career off the ground. Visit textiledesignlab.com to learn more!


