If you missed our introductory post about the One Hour Challenge you can read about it here. Additional One Hour Challenges available here.
For today’s One Hour Challenge we are offering two different options. You could even do the challenge twice and try out both!
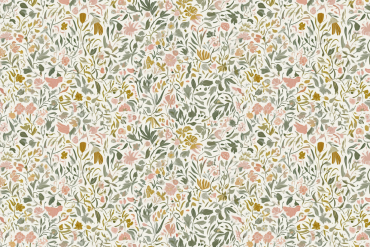
Option 1: Create as many stamped motifs as you can in one hour
For this first option I’d like to suggest that you experiment with six different objects as your stamping tool. That’s ten minutes per technique, plenty of time to explore different amounts of pressure, different angles, and perhaps a few different colors of paint.
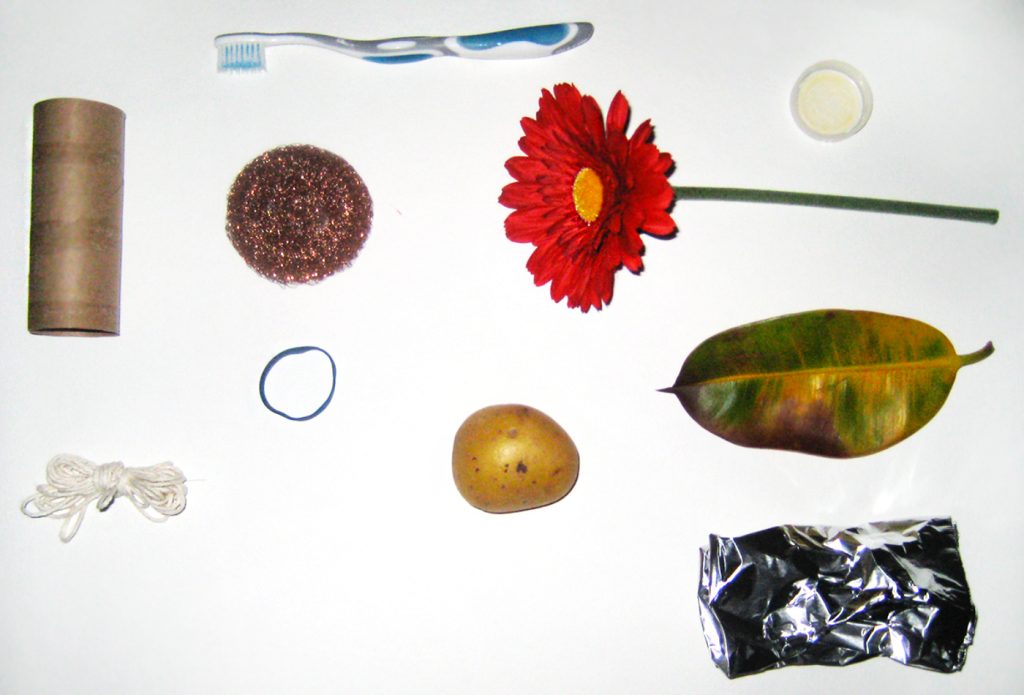
The goal here is motif creation—how many motifs can you create with these stamping methods in the one hour time limit? You might choose to keep your six experiments separate, on different pieces of paper, or perhaps you’ll find interesting blends of two or more techniques in the creation of a single motif. For instance, you might stamp a circle with a bottle cap, then decorate the edges with the tip of a sponge to create a floral motif. You can refer to the list of materials below, or try out something of your own!
- Sponges
- Carpet or tile samples
- Firm fruits and veggies
- Plastic wrap
- Aluminum foil
- Wax paper
- Toothbrush
- Your own fingers!
- Yarn or twine
- Flowers, leaves, grass, bark
- Pieces of mesh or lace
- Feathers
- Bubble wrap
- Packing peanuts
- Corrugated cardboard
- Corks
- Rubber bands
- Paper towel rolls
- Beads
- Bottle caps
Sponges are great—you can cut them into different shapes, and you can try the soft side and the scouring pad for different effects. You can pick up carpet or tile samples from home improvement stores, or use firm fruits and veggies like potatoes, carrots, radishes, etc. You can cut shapes in these as well with a knife, or I like to use a tool that is made for carving rubber stamps, which allows you to carve out finer details. You can play with creasing and crinkling plastic wrap, wax paper or aluminum foil, use a toothbrush or even your own fingers, which is one of my favorite methods, even though it’s messy! What about knotting, braiding or balling up yarn or twine, or folding over a bunch of pieces of yarn, tying them together and forming a pom-pom to stamp with? You can collect items outside like flowers, leaves, grass or bark, use pieces of mesh, lace or other textured fabric, feathers, bubble wrap, packing peanuts, the options are endless!
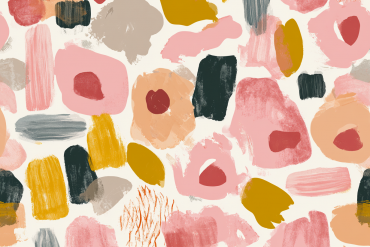
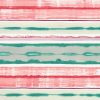
Option 2: Spend one hour developing a stamped pattern layout
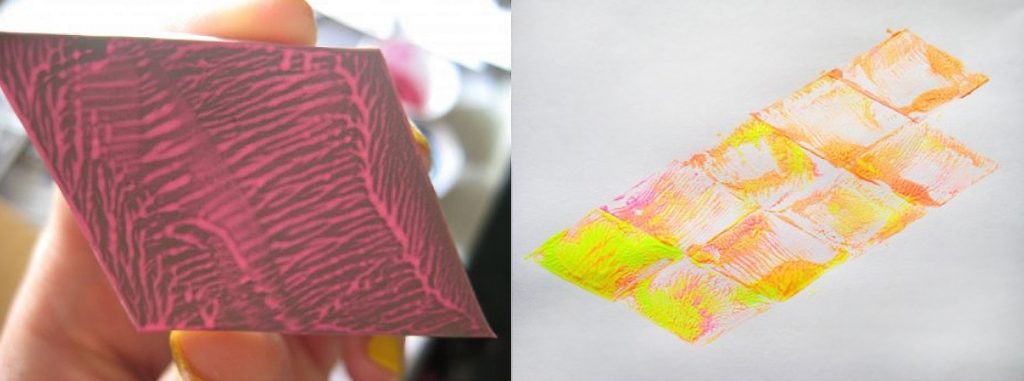
Instead of focusing on individual motifs, you might prefer to go all out with one or two techniques and create a full page pattern layout. Below you can see a piece of rubber I cut into a diamond and dipped in acrylic paint. Even though I only used one tool, the results were varied enough to develop a full pattern layout.
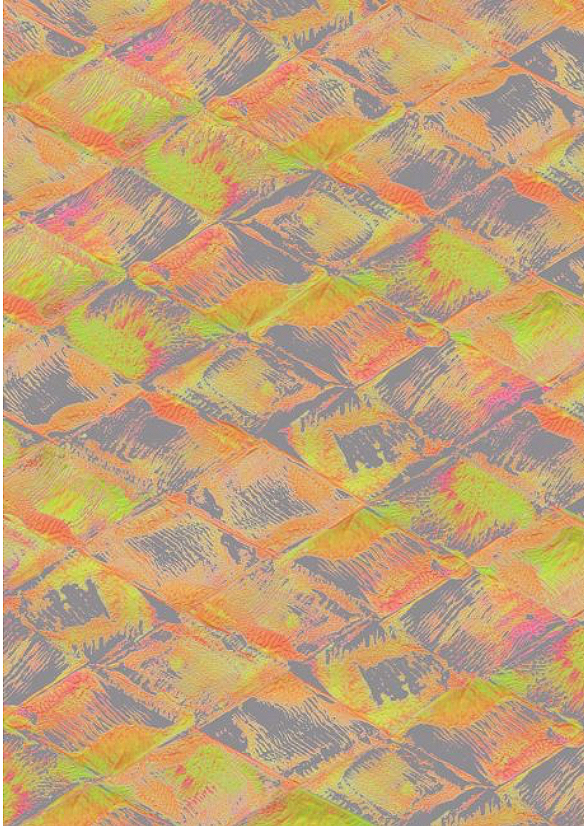
You are welcome to build the layout on paper or digitally, however you most enjoy working. But remember to hold yourself to the one hour timeframe—limitations can be great fuel for quick thinking and creativity!
Whether you go for Option 1 or Option 2, make sure to scan the resulting artwork and save it in a work-in-progress folder on your computer. On days when you aren’t feeling so creative you can pull something out of your stash and you’ll already be half way to a finished pattern!
How to Take Part in the One Hour Challenge
We aren’t setting any particular deadlines for the One Hour Challenge, this is meant to fit into your schedule whenever you have the time or need a creativity boost. If you would like to share your results of this challenge on social media, please use hashtag #patternobserver. You may see your work shared on the Pattern Observer Instagram feed or Facebook page!