Photoshop is wonderful resource that allows us to do many of our favorite parts of designing in it. We can:
- Manipulate photos
- Draw and design directly in Photoshop
- Sketch artwork and then scan it into Photoshop
- And my personal favorite—paint and then scan the painting into Photoshop
There’s no certain way that you have to use Photoshop. Every method listed above is fine—one is not better than the other. But when working with original scanned sketches in Photoshop, in specific, half the battle is making the sketch as easy to use as possible.
In Photoshop for Designers, Sherry London shares countless techniques to help you turn your paintings and sketches into digital artwork. We wanted to share our 5 favorite tips with you today. May they inspire you and help you to build your confidence in using Photoshop to help in your design process.
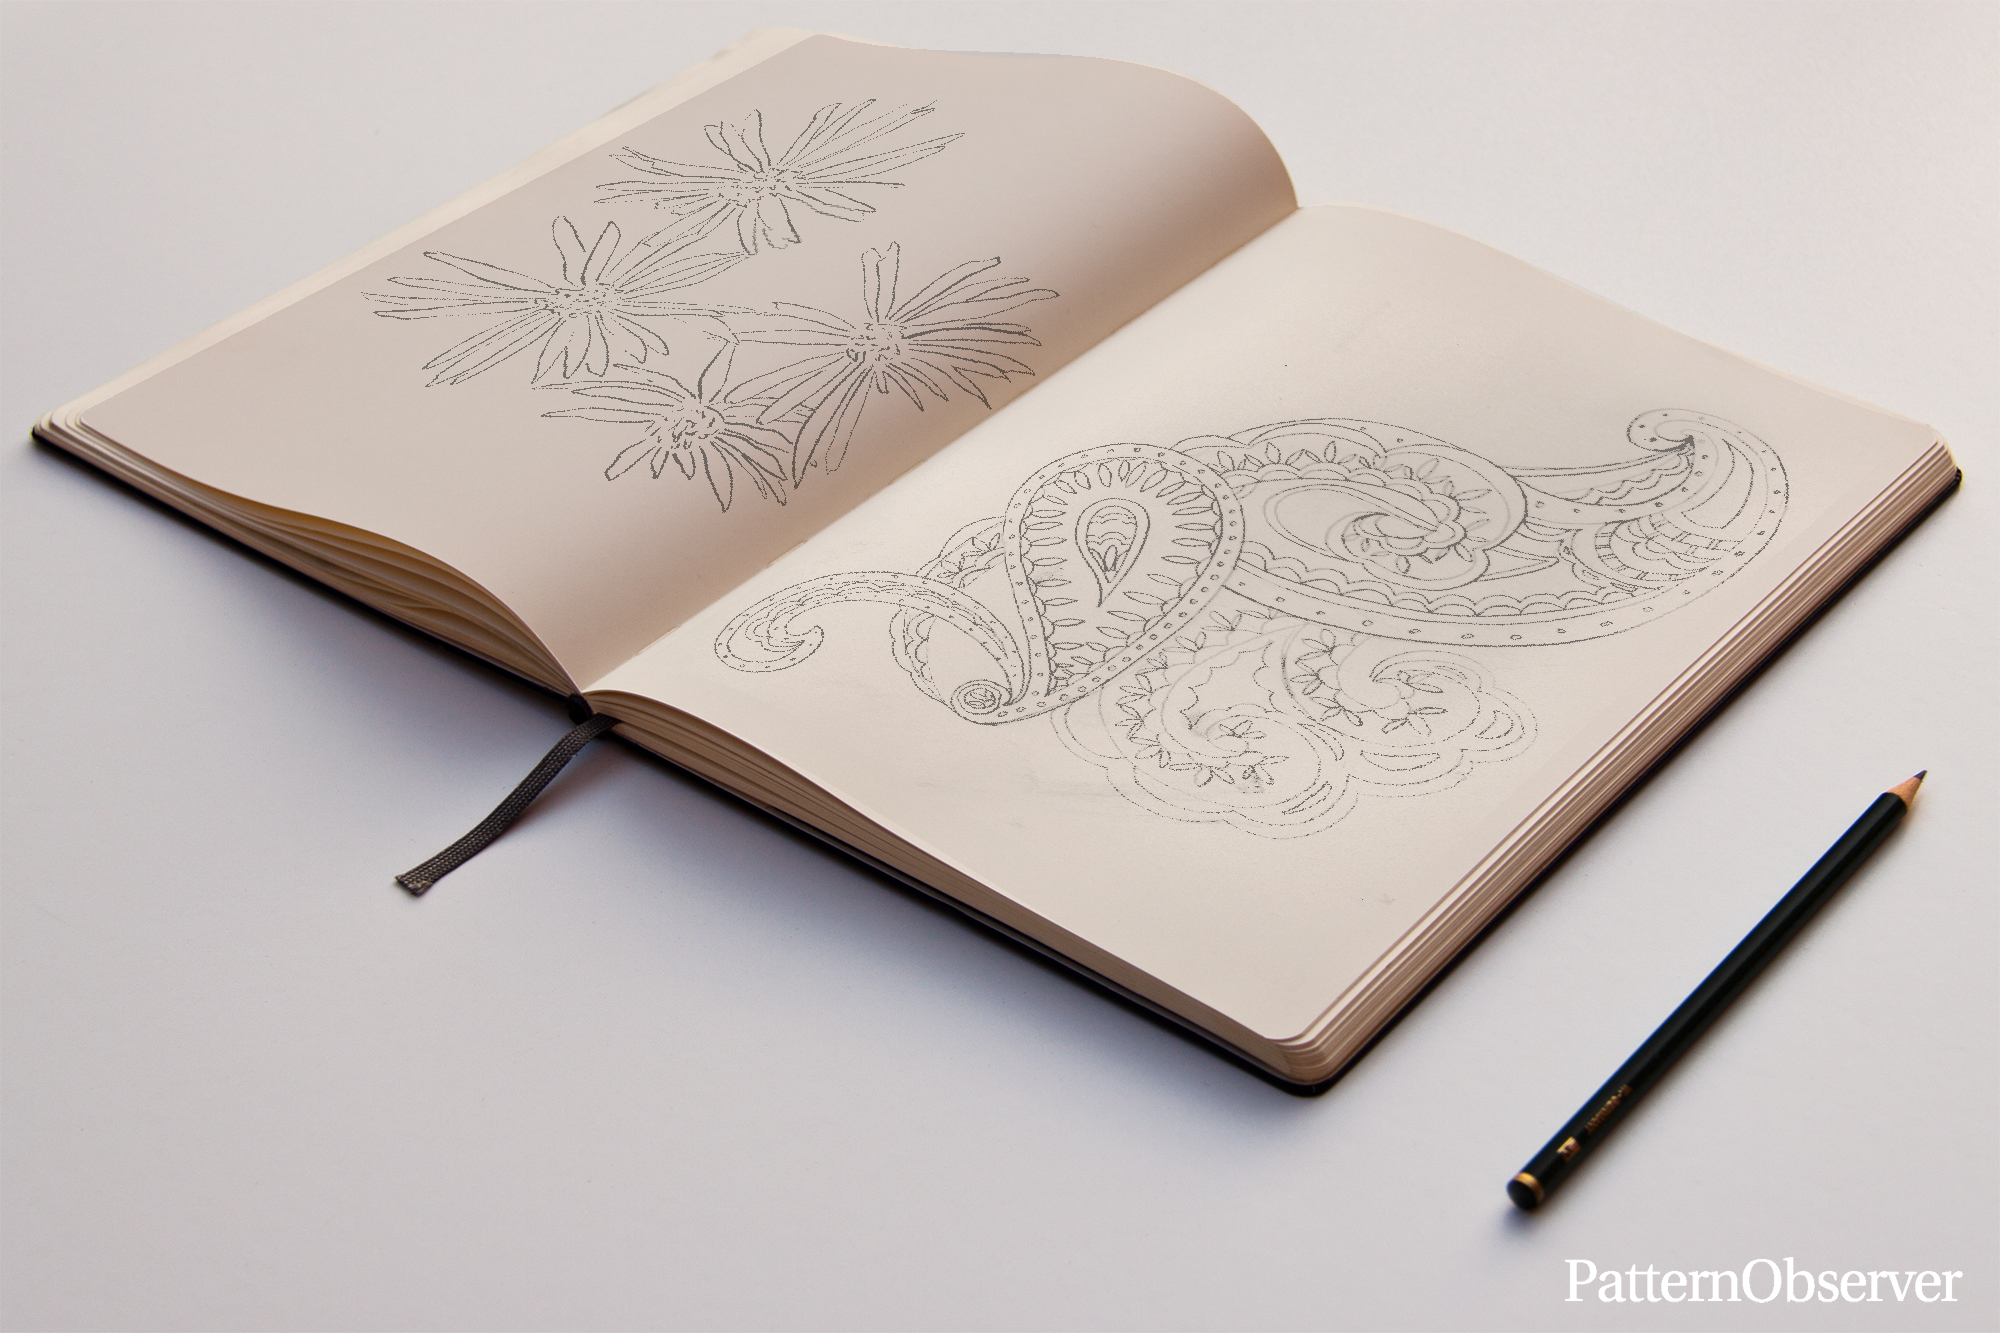
Tip #1: Sketching Paper
If you know that you generally like to scan your sketches, try to use a sketchbook or paper that is solid white and has no texture. Unless you have a specific need for a different style of paper, this will make scanning your sketches easier.
Sherry likes the Canson 1557 Drawing Paper. It comes in a 9×12 inch spiral pad and the edge along the spiral binding is perforated, making it very easy to tear away from the pad for scanning. Typing paper is also a great way to draw multiple versions of your image without wasting expensive sketchbook pages.
At Pattern Observer, we also like the Strathmore Visual Journals with Smooth Bristol paper. My personal preference is to use a textural paper when I paint because I also choose to leave the texture in my digital artwork. However, if you are sketching and creating a design with smooth lines you’ll want to use a paper with less to no texture.
Tip #2: Media
You might want to start your sketches lightly in pencil. This is a common practice for many designers. You’ll just want to make sure that once you ink the sketch you carefully erase the pencil lines. It’s important to keep your paper as clean as possible.
Pay attention to the pen you use, as well. You have an amazing number of choices of pens—from tiny to huge and fat, to brushes of various lengths. Wide inks and brushes leave great texture but don’t always play well in the company of thin strokes in the same image.
Tip #3: Darkness, Weight, and Sketch Size
When you scan your image, two things matter:
- The size of the lines on the scan.
- The size of the scan itself.
When reducing the size of your scanned image, the pen size and image size become even more critical. Darker, thicker lines take reduction better and also remain darker though enlargement in Photoshop. Even when you draw a large light flower and a dark small one, when reduced to the same size the light one is very light and thin. If you put multiple weights in the same image, it is to find a setting that does justice to all of the lines.
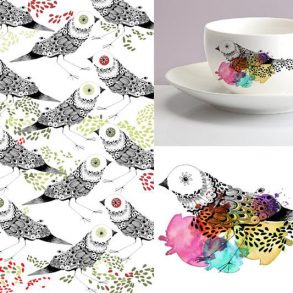
Tip #4: Object Overlap
The final issue to consider as you create your sketch is to decide if any objects in the drawing need to overlap. Overlapping motifs makes it difficult to create a design, pattern, or concept layout.
Whenever possible, paint each motif full, separately, without overlapping motifs.
Afterwards, scan each motif in, cut them out (one of the techniques covered in the full workshop), and move them around as you wish to create your layout.
Tip #5: Scan Resolution
Scanners work by dividing your image into “samples”. Each sample becomes a pixel in the final scan. The more pixels you have in the final scan, the larger your image. You can calculate the size of the image based on either:
- Your scanning resolution
- The number of pixels in the image
Your scanner driver determines how it thinks about size. Some drivers give you a choice of “web” or “print” scans. A web scan is usually 72 PPI (pixels per inch) and the print scan is 300 PPI. If you can choose, always scan at print size.
While working with large motifs are always better, what happens if you have an original sketch that is about a inch square? You can make it larger in the scanning process, within reason. Increasing a sketch from a 1”x1” original to even 4”x4” is doable on most scanners. Still, the options they give you for this enlargement will differ. You have to learn what to look for!
Scanner software usually lets you set either the scanning resolution or the image enlargement, but not both. So, you could scan the 1”x1” image at 400% enlargement or you could ask to scan the image 1200 PPI (4 times your normal print resolution). Either option should give you an image that is 1200 pixels square rather than the original 300 pixels square.